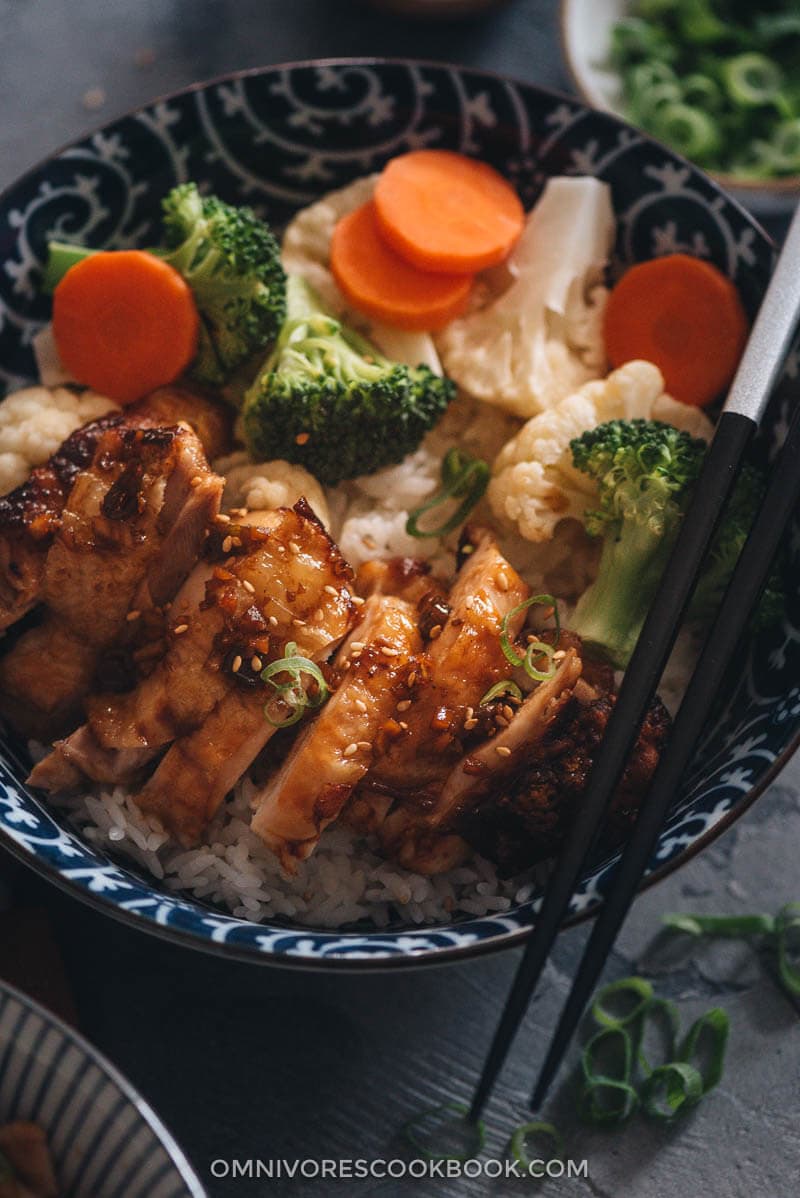
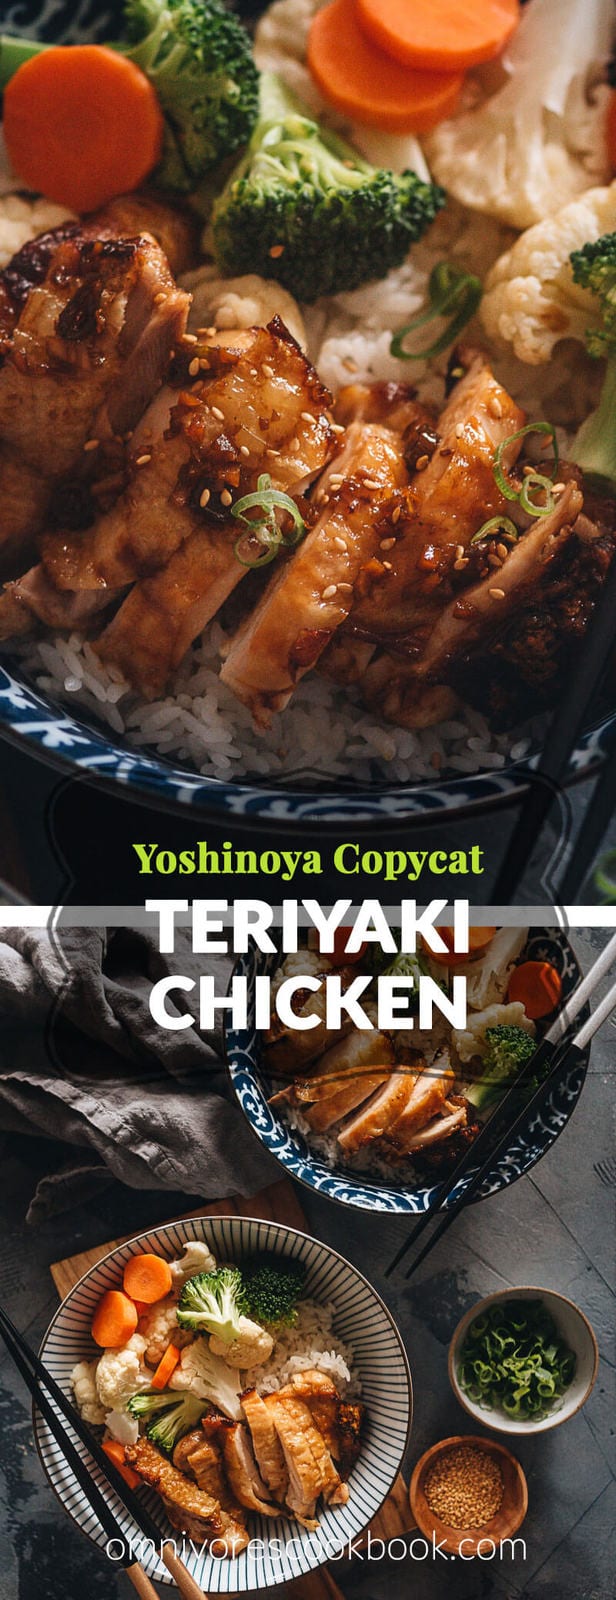
My Yoshinoya copycat teriyaki chicken yields juicy tender chicken thighs with crispy skin. It’s served with an aromatic and rich teriyaki sauce that is not too sweet. This recipe mimics the Teriyaki chicken bowl served in Yoshinoya’s overseas restaurants with a Chinese twist. {Gluten-free adaptable}
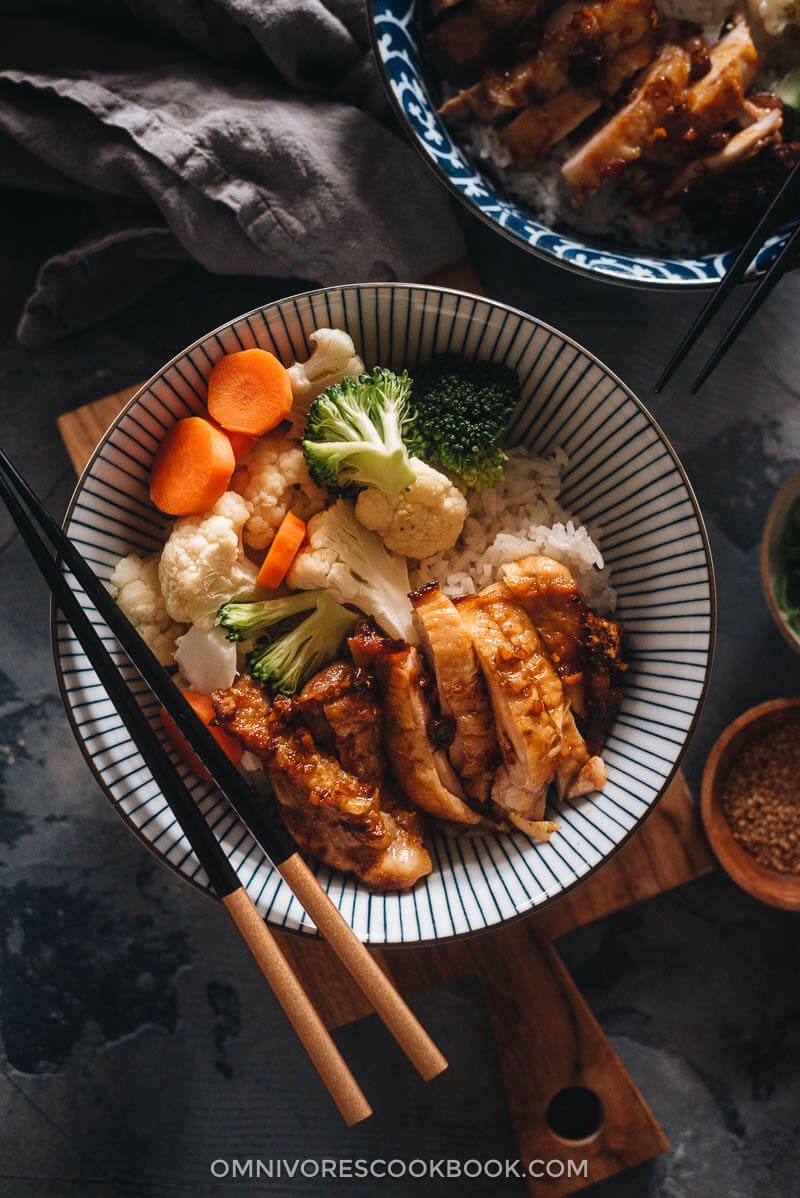
Fast food is not the most accurate way to reflect one’s food culture, but it might be the most efficient way to spread it overseas. My first encounter with teriyaki chicken was at a branch of the Japanese chain Yoshinoya in Beijing. If you’re not familiar with Yoshinoya, it’s a very famous chain in Japan, and is as common there as McDonald’s is in the US. Yoshinoya quickly gained popularity when it opened in China back in the late ’90s, when the food scene in Beijing was far from the excitement of nowadays. It took me years to appreciate the raw fish of Japanese cuisine, but I was hooked on Yoshinoya the first time I tried it.
The chicken-beef combo bowl from Yoshinoya is on my top three list of fast foods, along with the spicy fried wings from KYC and the fried chicken sandwich from McDonald’s. (These items are on the localized menus in China and you’re missing out if you’ve never tried them). The chicken-beef combo contains Japanese braised beef and crispy chicken thigh meat in teriyaki sauce served on steamed rice with a side of mixed steamed veggies.
The Yoshinoya teriyaki chicken is cooked to perfection, with super tender and juicy meat and crispy skin. The sauce is tangy, rich, and sweet. It’s addictive to the point that I was ordering it as takeout a couple times a week.
You can imagine how disappointed I was when I got to Japan and found out that Yoshinoya doesn’t actually serve this dish there!
It’s like one of those localized dishes that became so famous overseas that people think it’s actually from the original culture, like how orange chicken is attributed to China in the US.
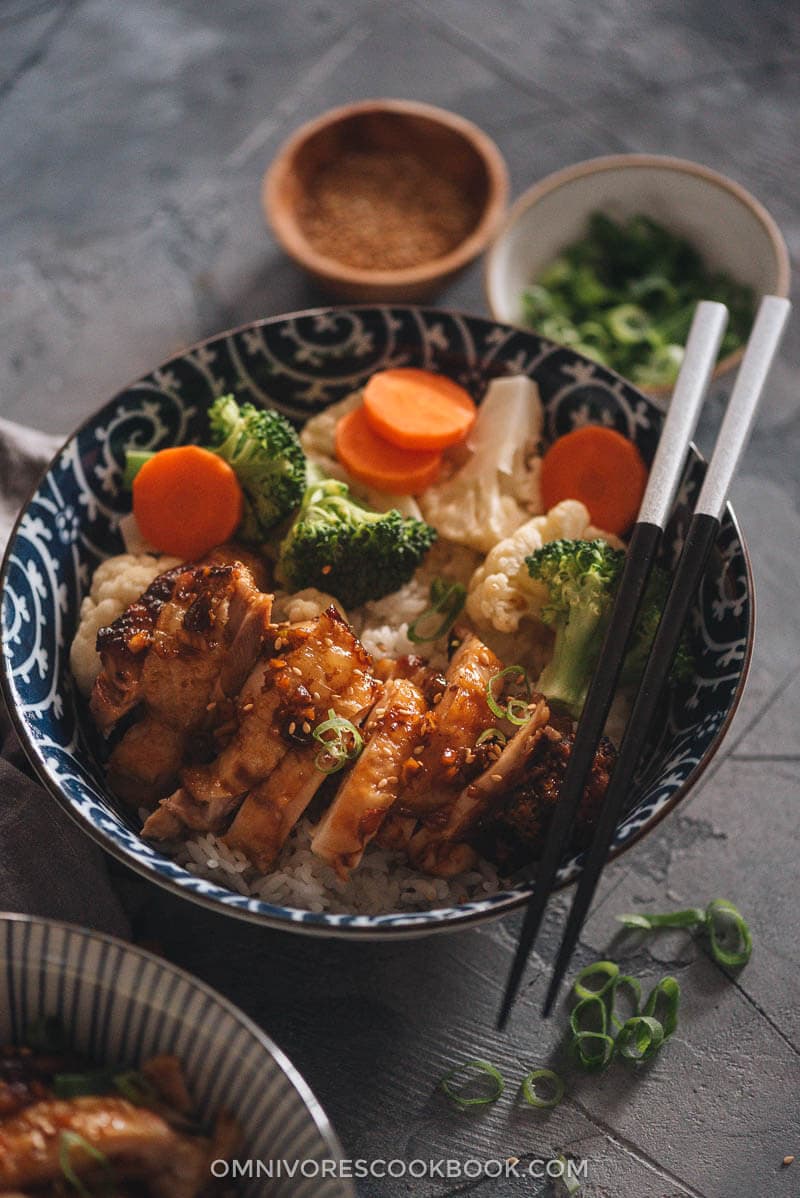
Teriyaki chicken, Chinese style
According to my friend Nami at Just One Cookbook, teriyaki refers to a specific cooking method in Japan. If you’re curious about the authentic way to cook the dish, I highly recommend reading her recipe.
The recipe I’m about to share has nothing authentic about it. It is the localized Chinese version that I love and have been eating for years.
Here’s why it’s different:
- The chicken is fried until crispy then served with the sauce. For the original teriyaki chicken, the chicken is grilled in the pan together with the sauce.
- This version uses cornstarch to create a slightly thicker gravy-like sauce. The original recipe simmers the sauce until it reduces to a concentrated liquid.
- This version uses dry sherry + brown sugar instead of the Japanese sake + mirin + sugar. It creates a tangier rich flavor and makes the dish less sweet.
- This version uses a lot more aromatics such as ginger, garlic, and green onion to add fragrance to the sauce.
So you can see, this dish has stripped away so many of the Japnese elements. But you’ll be surprised at how delicious it is when you cook it.
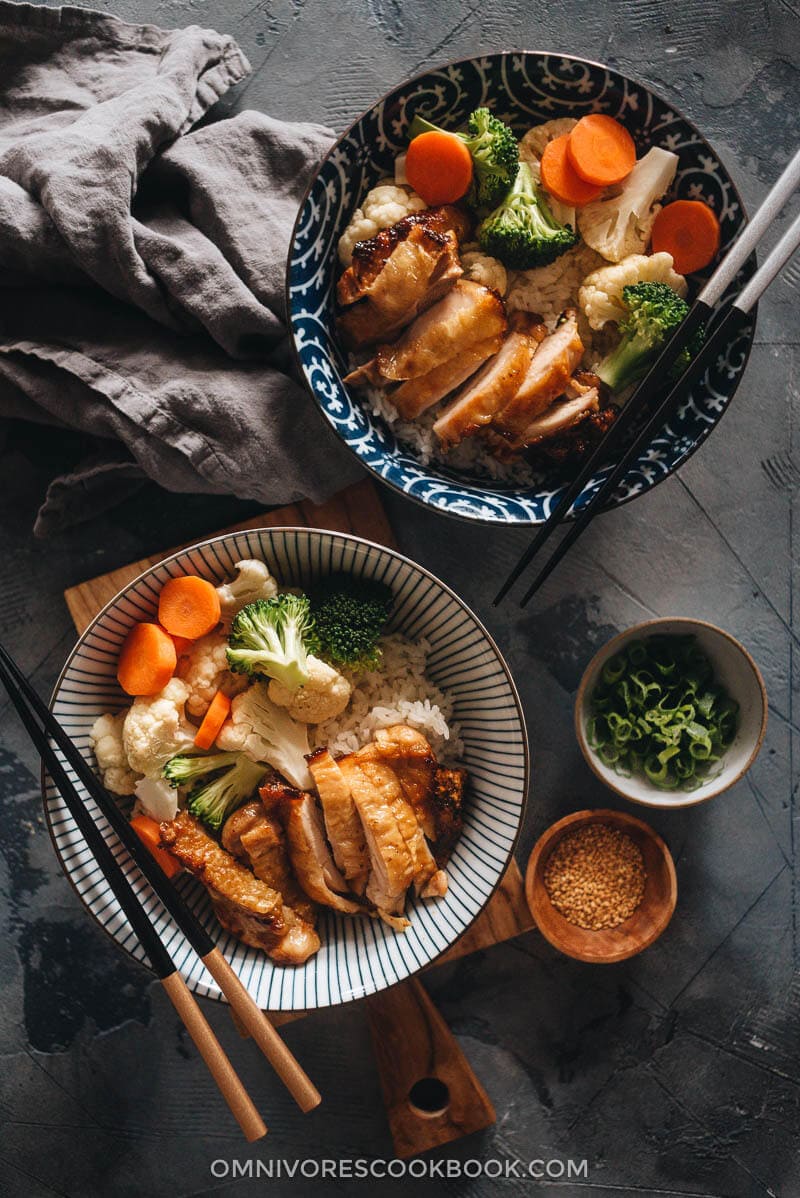
Create juicy crispy chicken, three ways
One of the best things about the Chinese Yoshinoya teriyaki chicken is the super crispy skin. I don’t know the restaurant’s secret, but it tastes to me like the chicken is fried. Since deep-frying is something I try to avoid in my home kitchen, I decided to try out some other methods – pan frying, air-frying, and oven frying.
It turns out, the three methods make so much sense in different ways so I decided to share them all. Here are their pros and cons:
1. Cook the chicken in the Air-Fryer
It’s by far my favorite method.
- It takes very little time, about 10 minutes, to cook two pieces of chicken.
- It creates a golden crust that is light and crispy, just as good as deep fried.
- It renders a lot of oil from the chicken, so the end product is less greasy.
- It’s pretty hands-off.
If you do have an air-fryer and you’re cooking for less than four people, I highly recommend this method.
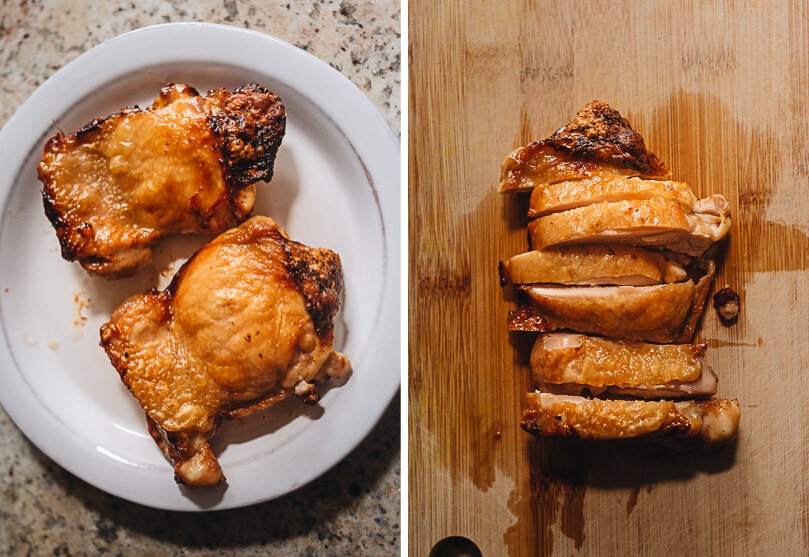
2. Cook the chicken in a frying pan
This method is best when you want to quickly whip dinner together for a small number of people.
It takes about eight minutes to cook four pieces of chicken at a time (if you’re using a large pan). So it even takes less time than the air-fryer.
The downside is, the result is not as ideal as the air-fryer. The skin still crisps up, but it’s not as perfect as the air-fryer method because less oil will be rendered from the skin.
3. Frying in the oven
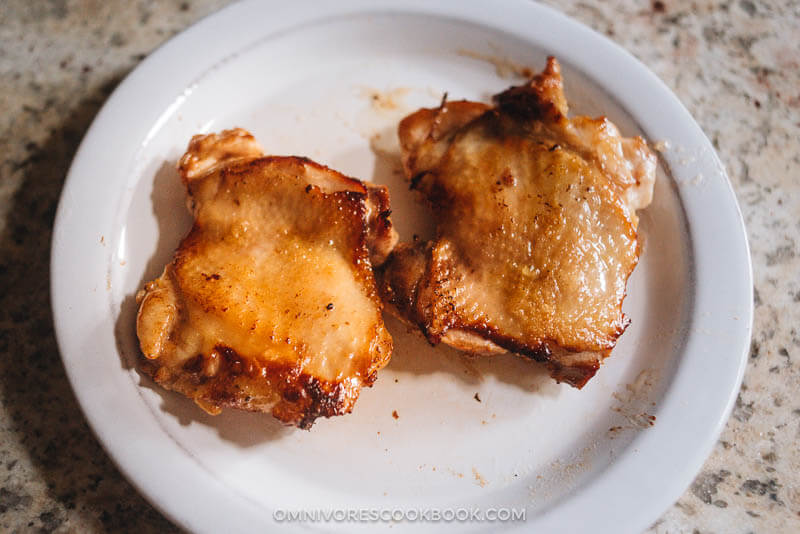
The method is perfect if you’re cooking for a group of people because you can roast 8 pieces of chicken at a time. It also does not require pre-marinating the chicken. The result is almost as good as the air-fryer method, in that the chicken skin will crisp up nicely.
You can refer to the picture in my 5-ingredient chicken to see how the chicken looks after cooking.
More cooking notes
1. What cut of chicken to use
I highly recommend using skin-on chicken thighs to cook this recipe, because the crispy skin is the highlight of the dish. If you don’t care about crispy chicken skin, you can opt to use boneless skinless thighs.
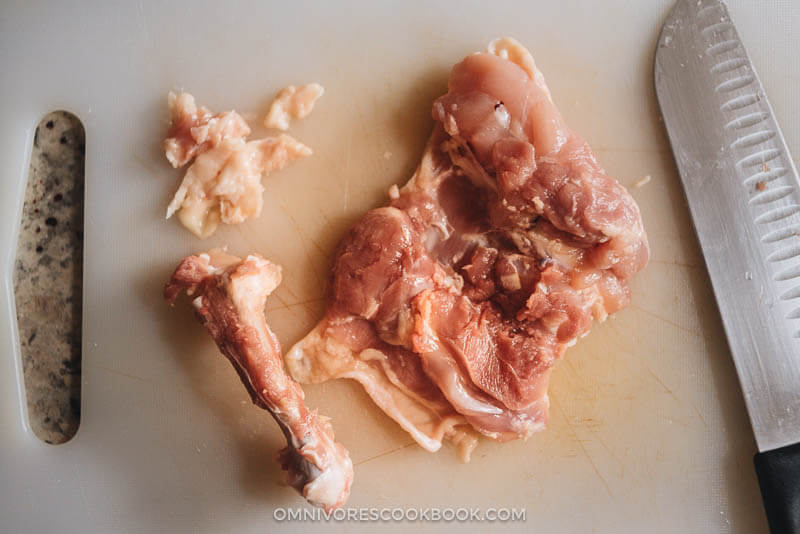
If you can get your hands on skin-on boneless thighs, that would be perfect. Unfortunately, I cannot find them in US grocery stores. I usually get bone-in skin-on chicken and debone it at home.
2. How to prep chicken to get the best result
- Debone the chicken: it halves the cooking time and makes it easy to serve. Not to mention, the presentation of the end product will mimic the restaurant version most closely.
- Pound the chicken: it evens out the thickness of the chicken thigh, so it cooks more evenly and quickly. Although you can skip this step if you’re using the oven cooking method.
- Marinate: it adds more richness to the chicken. You can skip this step if you’re short on time. You can also skip this step if you’re using the oven cooking method.
3. The sauce
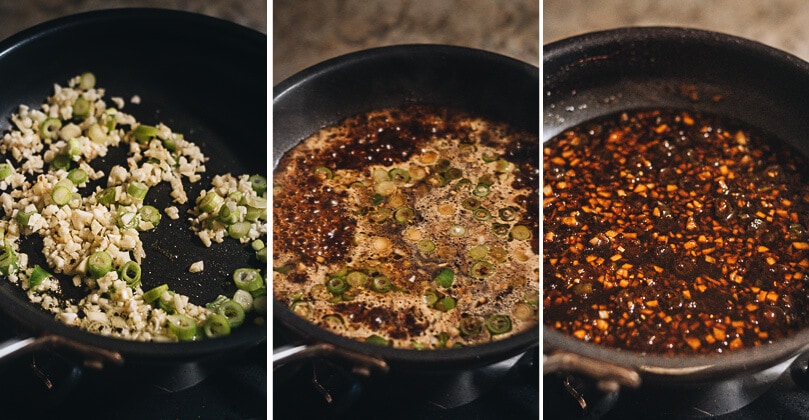
It might look like very little sauce when you finish the cooking. But don’t worry, it’s the perfect amount if you’re serving each piece of chicken over one cup of steamed rice. The sauce is very concentrated and salty, so you don’t need much.
On the other hand, you can always double the sauce if you plan to serve the sauce over more rice and steamed vegetables.
Note, make sure you boil the sauce for at least five minutes before adding the cornstarch. This process lets the wine evaporate so it won’t end up too boozy.
Once the sauce is done, I enjoy drizzling it, along with the aromatics, on my chicken. It’s so flavorful and yummy!
4. A faster way to steam vegetables
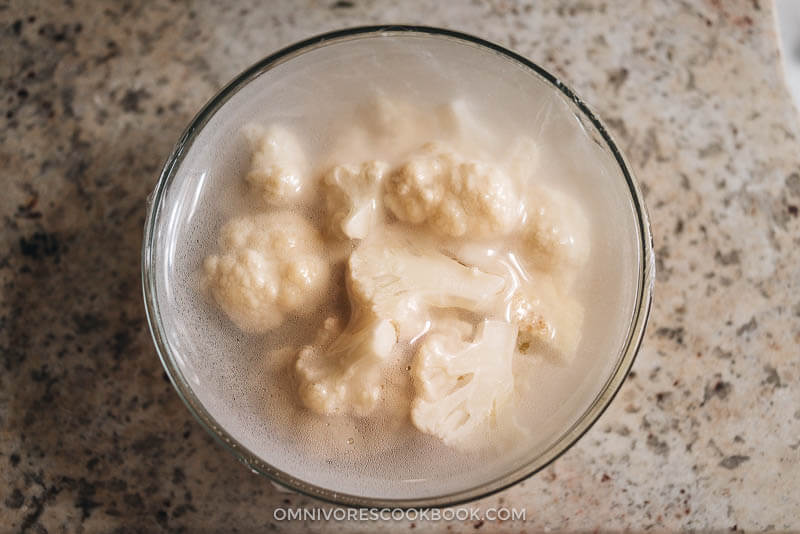
The Yoshinoya chicken bowl is always served with a side of steamed veggies. I do that at home too, to make my dinner bowl more colorful and nutritionally balanced. Although the traditional approach is to steam the veggies or blanch them, my latest favorite way is to microwave them. It is like steaming, which preserves the most vitamins from the veggies, but faster and easier. I simply put the veggies in a big bowl and seal them in with plastic wrap. The cooking time largely depends on your microwave wattage and the quantity and type of veggies you use. But I would experiment with short time increments such as 1 minute or 30 seconds. When the plastic wrap looks like it’s “smothering” the veggies, it usually means the veggies are perfectly cooked. I have a pretty powerful microwave and it took me 1 minute to cook 1/2 cup sliced carrot, 1 minute for 1/2 head broccoli florets, and 2 minutes for 1/2 head cauliflower.
Afterthoughts
It seems like the debate over cultural appropriation never ends when it comes to food. The recent Lucky Lee’s “Clean” Restaurant story went viral and has become my coffee-chat topic on most days. I do not agree with the restaurant’s concept and especially disagree with their marketing strategy, although I always try to remind myself that when people are sharing food from another culture their intentions are usually good.
As a recipe website owner, I myself get accused of cultural appropriation from time to time. I totally understand that food matters a lot sometimes, such as when people talk about a dish they’ve eaten since childhood. For me, I still get upset when I see Chinese dumpling tutorials that use store-bought wrappers. Even though I use ready-made wrappers myself and I have these recipes on my blog! The thing is, it’s hard to draw the line between right and wrong. A recipe that is not true to the culture might be a more efficient way to spread it to a new audience.
At the end of the day, all I’m trying to do is keep an open mind and share recipes that resonate with me, and the ones that help home cooks make a delicious dinner.
I have a very old family recipe, Mom’s Best Braised Chicken and Mushroom. I ate the dish frequently when I was growing up. I’m torn between keeping it the way it is and updating it with new ingredients. The old recipe calls for cutting apart a whole chicken, which is the “correct way” to make it. However, I know that so many more people will be willing to make it, if the recipe calls for available cuts from the grocery store, such as chicken thighs and drumsticks. I cannot decide if I should keep it authentic or make it more approachable to home cooks. Or should I say, whether or not to do some cultural appropriation?
More easy dinner recipes
- Real-Deal Szechuan Beef Stir Fry
- Sweet and Sour Tofu
- Crispy Chinese Honey Chicken (without Deep Frying)
- 15-Minute Pork Fried Rice
- The Best Chinese Coleslaw
If you give this recipe a try, let us know! Leave a comment, rate it (once you’ve tried it), and take a picture and tag it @omnivorescookbook on Instagram! I’d love to see what you come up with.
Teriyaki Chicken (Yoshinoya Copycat)
Ingredients
- 4 pieces boneless skin-on chicken thighs (or bone-in skin-on thighs, or boneless skinless thighs)
- 1/4 cup Shaoxing wine (or dry sherry)
- Salt
Sauce
- 1/4 cup Shaoxing wine (or dry sherry)
- 3 tablespoons soy sauce
- 2 tablespoons brown sugar (or regular sugar) (*Footnote 1)
- 1/3 cup water , divided
- 1 teaspoon cornstarch
Cooking
- 1 teaspoon peanut oil (or vegetable oil)
- 1 tablespoon minced ginger
- 3 cloves garlic , minced
- 2 green onions , chopped, white and green parts separated
Serving options
- Steamed rice (highly recommend)
- Steamed or blanched assorted veggies (such as broccoli, cauliflower, and/or carrots) (optional)
Instructions
- Remove excess fat from the chicken thighs. If you’re using bone-in chicken thighs, remove the bones using a knife. You don’t need to remove the bones if using the oven baking method.
- Use the back of your knife (or a meat hammer) to pound the thicker part of the thigh, so the thigh will be cooked more evenly.
Marinate (Optional)
- Skip this step if you’re using the oven method. Pour the Shaoxing wine into a big plate. Spread the chicken onto the plate, skin-side-up, so the meat side will be submerged in the wine. Sprinkle salt on the skin. Let marinate for 30 minutes to 1 hour at room temperature. Or cover with plastic wrap and marinate in the fridge up to overnight.
Teriyaki sauce
- Mix the Shaoxing wine, soy sauce, brown sugar, and 1/4 cup water in a medium-sized bowl.
- Heat 1 teaspoon oil in a small saucepan over medium heat until hot. Add the ginger, garlic, and the white part of the green onion. Stir a few times to release the fragrance.
- Add the sauce. Make sure to scrape the bottom of your bowl to transfer all the sugar to the pan. Turn to medium-low heat. Cook, stirring occasionally until the sauce is reduced by half, 5 to 6 minutes.
- Whisk the cornstarch with the remaining 2 tablespoons of water. Stir to dissolve the cornstarch completely. Pour into the saucepan and stir to thicken it, until it can coat the back of a spoon.
- Once done, transfer everything to a small bowl.
Cook chicken
- Thoroughly pat chicken dry with kitchen paper towels (very important).
- If you skipped the marinating process, Lightly season both sides of the chicken with salt before cooking.
Option 1 - Cook in an air-fryer
- Set your air-fryer temperature to 390 F (198 C) and preheat air-fryer for 6 minutes or so.
- Lightly grease the meat side of the chicken with a thin layer of oil to prevent sticking. Spread the chicken into the air-fryer basket skin-side-up without overlapping. You probably need to cook the chicken in two batches. Cook until the skin turns golden brown, 10 minutes or so. Remove the chicken and slice the thickest part to check the doneness. If you’ve pounded the chicken thin, the chicken should have cooked through. If the inside is still pink, return the chicken to the air-fryer, skin-side-down, and continue to cook 2 to 4 minutes, until the inside turns completely white.
Option 2 - Cook in a frying pan
- Heat 1 tablespoon oil in a large pan over medium-high heat until hot. Spread the chicken skin-side-down without overlapping. Gently use your spatula to press down on the chicken, so the skin will cook evenly. After 2 minutes, cover pan with a lid. Continue to cook another 2 minutes or so, until the skin turns golden brown. Turn the heat to medium or medium-low if the pan gets too hot.
- Flip the chicken and cover again. Cook for another 3 to 4 minutes, until the bottom turns crispy and the chicken is cooked through.
Option 3 - Cook in the oven
- Preheat oven to 220 C (425 F) on convect mode (if available). Add 1/4 cup Shaoxing wine to a 9” x 9” baking dish. Add chicken thighs to baking dish, skin-side-up. Arrange them to expose more skin and avoid overlapping. Bake until the skin is crispy and a thermometer inserted near the bone reads 165 F, about 30 minutes.
Assemble
- (Optional) Transfer the chicken to a cutting board and cut into slices.
- Top the chicken on steamed rice, add steamed veggies on the side, and sprinkle with the green part of the green onion (if using). Spoon the teriyaki sauce over the chicken and serve immediately.



This is the best teriyaki chicken ever!!! I made this with bone in skin on chicken thighs and it came out absolutely perfect!! It’s similar to 5 ingredient baked chicken but this sauce takes it over the top. This is an absolute keeper of a recipe – thank you for sharing. I’ve already made it twice to rave reviews!!!!!