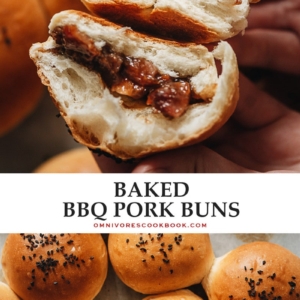
Bring authentic dim sum to your home with baked BBQ pork buns just like your favorite Chinese restaurant!
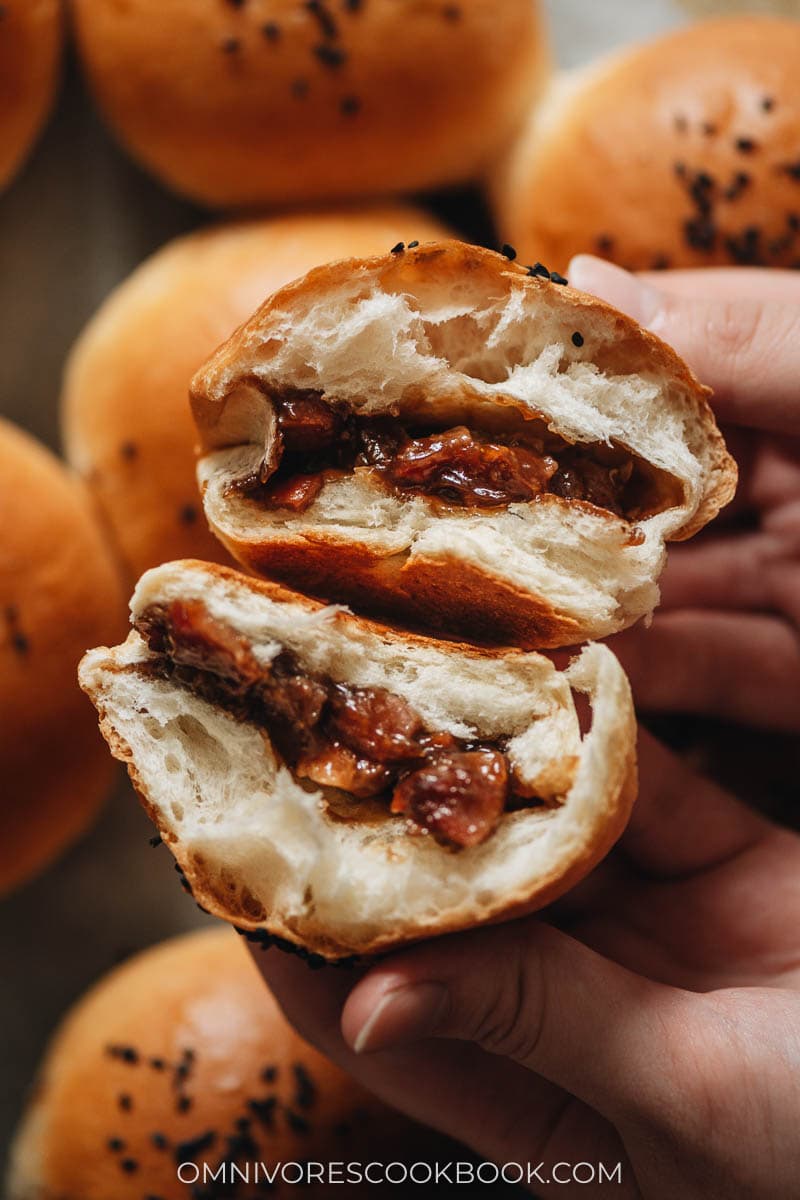
I love homemade baked BBQ pork buns. These are called char siu bao at Chinese bakeries. And they are often served as dim sum at Cantonese restaurants. If you’ve ever tried them, they are surely already a favorite of yours!
In fact, my char siu and my steamed char siu bao recipes have been quite popular. Many readers requested a baked version of the buns, so I created a baked BBQ pork bun recipe that allows you to use your oven to get these yummy flavors packed into heavenly soft milk bread. Talk about combining the best of both worlds!
The bun is a variation on my milk bread recipe. For the baked BBQ pork buns, it’s a more simplified version that skips the condensed milk without compromising the result. The buns are super soft and fluffy – the perfect vessel to contain that tender pork.
PS. If you’re feeling extra fancy, you can use my pineapple bun recipe to fill the BBQ pork. It takes a LOT of work to make but the result is divine.
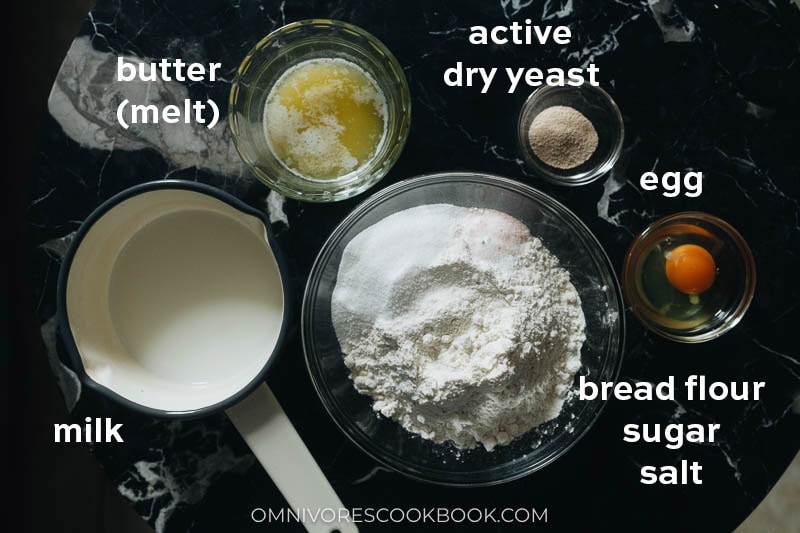
Ingredients & equipment
If you have a stand mixer, the dough is really easy to put together.
It’s a perfect recipe for using up leftover char siu. And if you don’t want to go to the trouble of making char siu, you can still make baked BBQ pork buns at home by grabbing takeout char siu from your local Chinese restaurant. You can just have the dough ready to go and it will be much quicker.
If you can’t find char siu anywhere nearby and don’t have time to make it, use regular roasted or barbecued pork. The seasoning for the filling is really flavorful and creates delicious baked BBQ pork buns everyone will love.
Cooking process
Make the dough & 1st rise
- Activate the yeast in warm milk
- Add the dry ingredients
- Form and knead the dough using a stand mixer, until you can stretch it into a very thin and translucent sheet
- Pull the dough into a tight ball
- Cover and let rest
- The dough is ready when the size doubles

Make the char siu filing
Making the char siu filling is super simple.
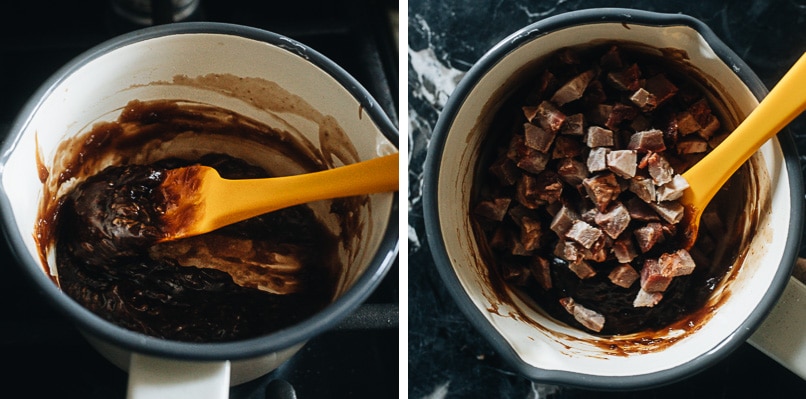
- Cook the sauce mixture until it thickens
- Let the sauce cool, then mix in the chopped char siu
Form the dough balls
Now that your dough is rested and ready, it’s time to divide it into small dough balls for the buns.
- Punch down the dough and knead a few times
- Divide the dough into 12 even pieces. I prefer to use a scale to weigh each dough ball so the buns will be evenly sized
- To form each dough ball, pull and pinch the edges of the dough to the top
- Repeat until it forms a round ball
- Pinch together the top to seal it
- Use your hand to press and roll the dough ball until it’s round
NOTE: It’s very important to always cover the dough you’re not working on with plastic wrap. Otherwise it will dry out.

Wrap and bake the BBQ pork buns
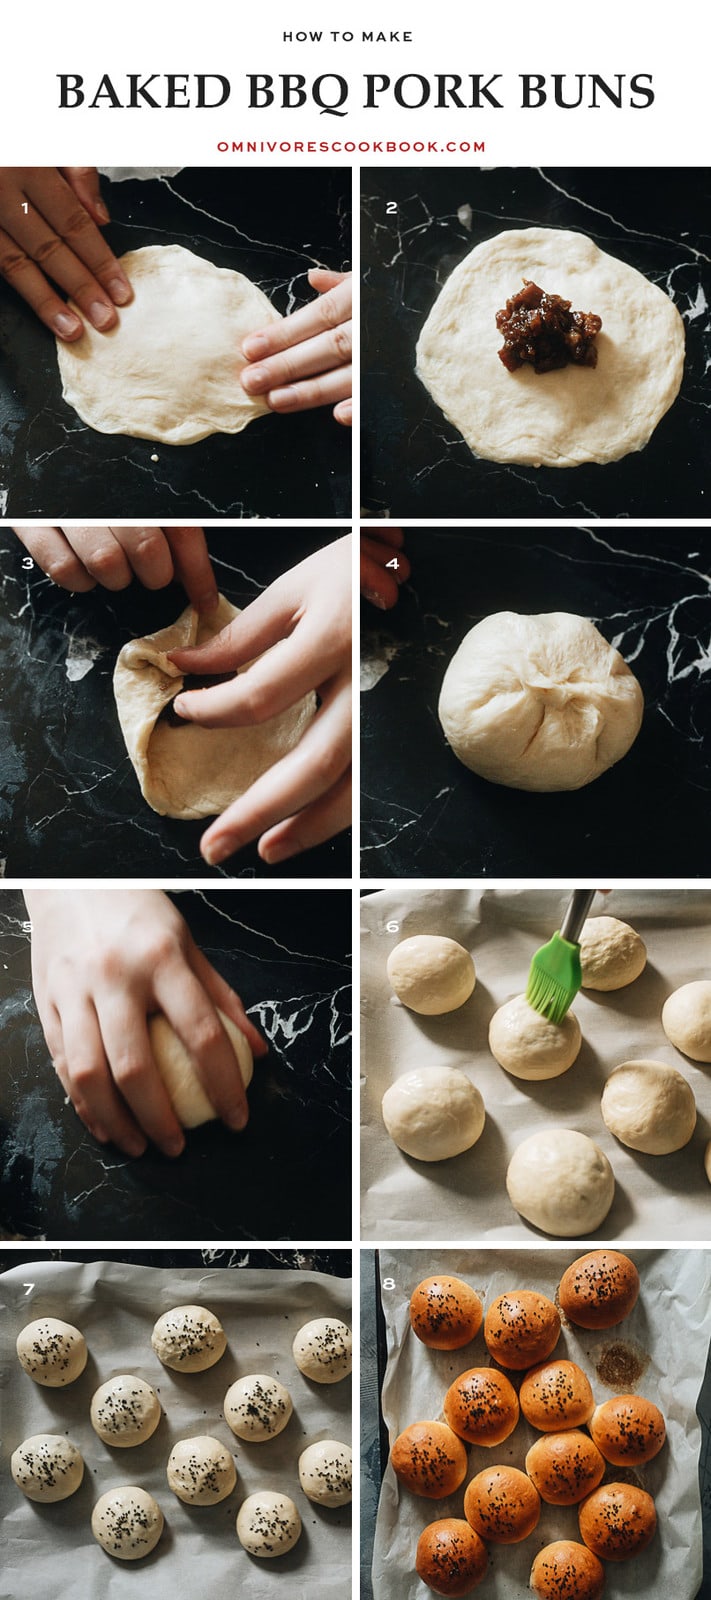
- Press the dough ball into a flat, round shape (keep the center thicker than the edges, so the dough of the wrapped bun will be even)
- Add the filling
- Pull the dough into the center
- Pinch and seal the top
- Roll the formed bun again but more gently this time, so the filling won’t fall out
- Brush the buns with the milk wash
- Garnish with sesame seeds
- Bake until golden brown
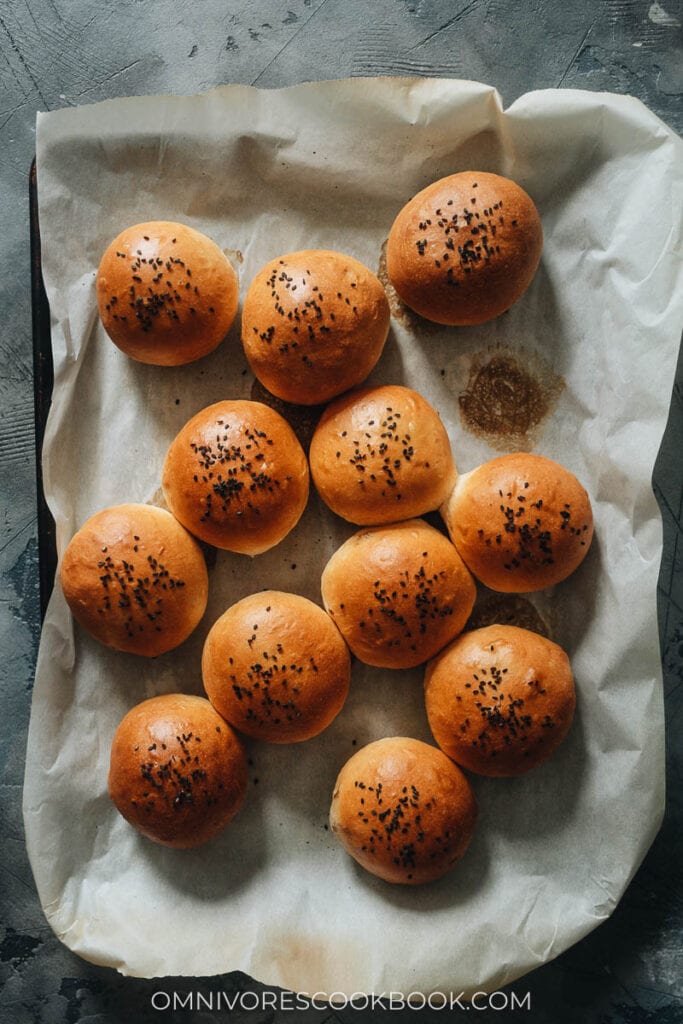
NOTE: I like to brush the buns with the milk wash for a muted golden brown look. If you prefer the glossy look, you can also brush the buns with an egg yolk wash.
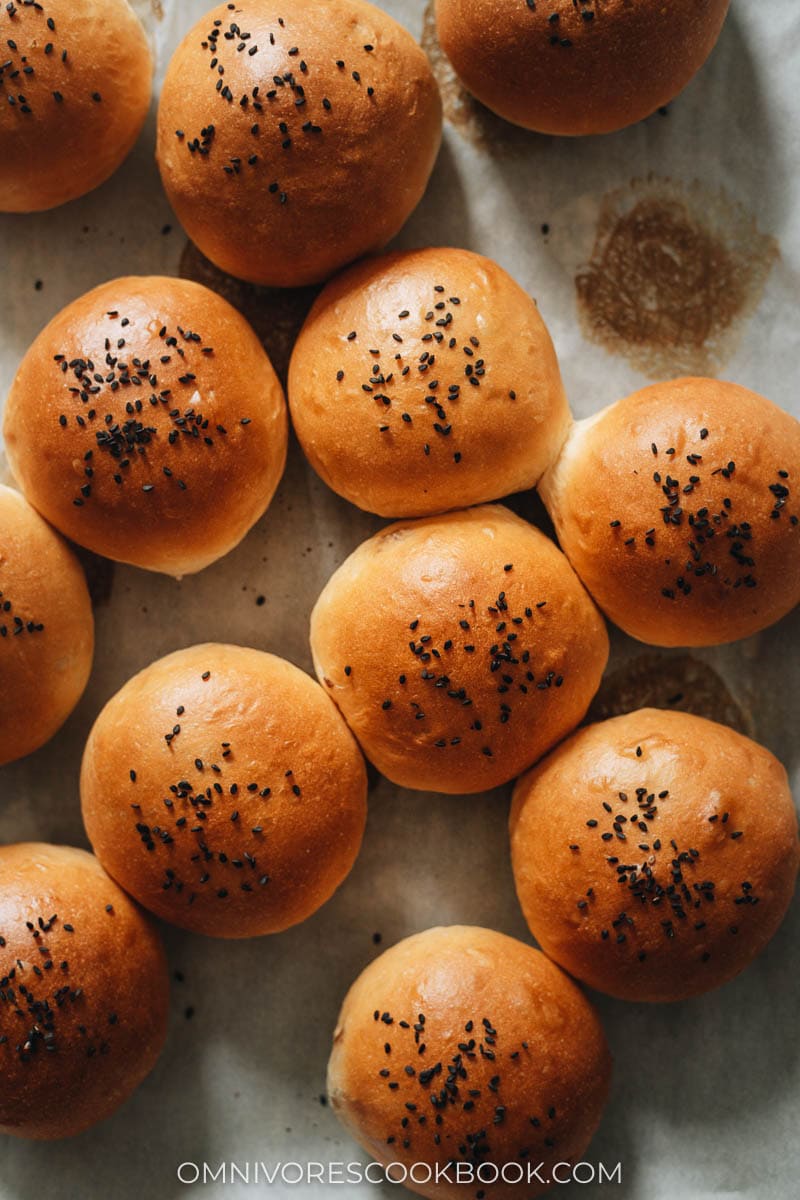
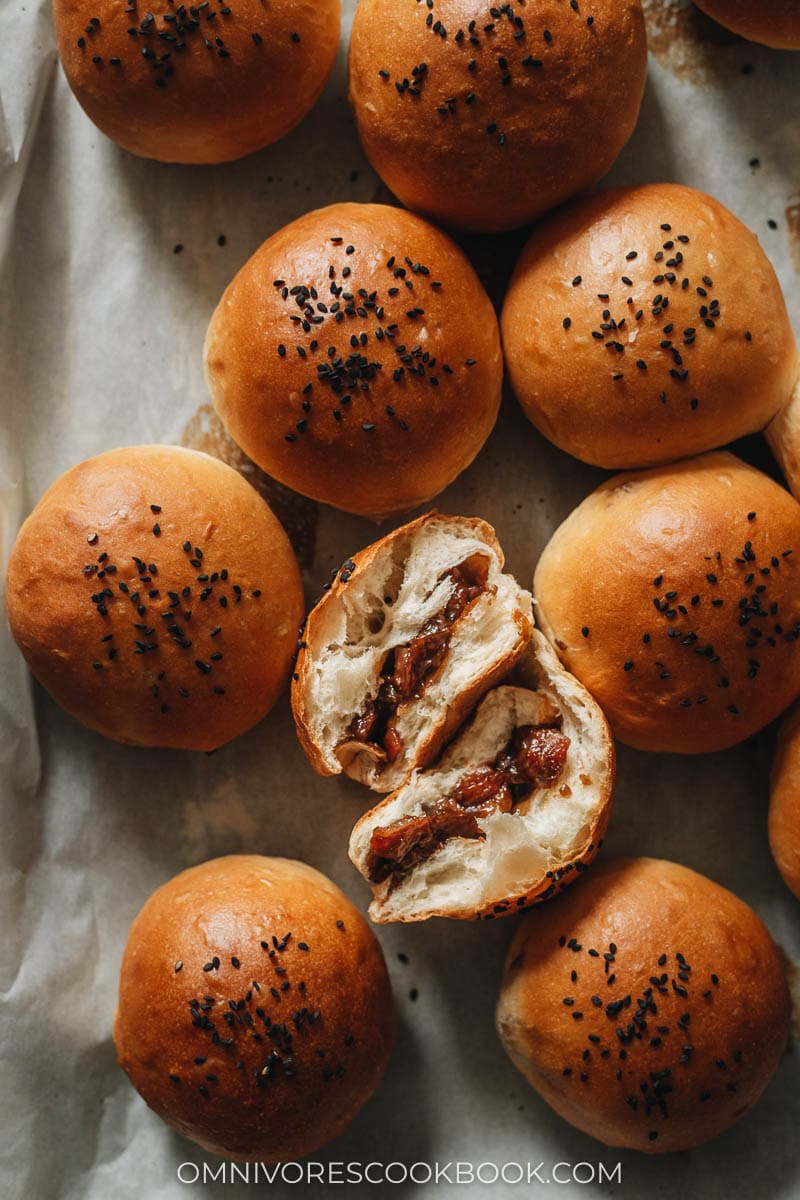
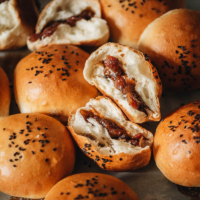
That’s it! These baked BBQ pork buns are super soft and fluffy, with a delicious sweet savory filling!

I’ve taken you through the cooking step-by-step with pictures. If you want to see the cooking in action, check out my YouTube video. You can (and should!) make extra because they freeze well and you can have them ready to go for dim sum, any time the mood strikes!
Want to learn more about Chinese Cooking? Sign up my newsletter to receive the 5-Day Chinese Cooking Crash Course and recipe update!
Baked BBQ Pork Buns (Char Siu Bao)
Ingredients
Dough
- 250 ml (1 cup + 2 teaspoons) milk , warm (~110°F) (plus 1 tablespoon to wash the buns)
- 7 g (1 packet, 2 1/4 teaspoons) active dry yeast
- 40 g (3 tablespoons) sugar
- 5 g (1 teaspoon) salt
- 400 g (3 cups) bread flour
- 60 g (3 tablespoons) butter , melted & cooled
- 1 egg
Filling
- 4 tablespoons chicken stock
- 2 tablespoons hoisin sauce
- 1 tablespoon oyster sauce
- 1 tablespoon sugar
- 1 tablespoon Shaoxing wine (or dry sherry)
- 1 clove garlic , grated
- 1/8 teaspoon five spice powder
- 2 tablespoons cornstarch
- 1 heaping cup (180 g / 6.5 oz) homemade char siu , diced (or store-bought char siu)
Garnish
- Sesame seeds (optional)
Instructions
Make the dough
- Pour the milk into a small bowl and warm it to approximately 100 to 110°F (38°C), about 30 seconds in the microwave. The milk should be warm, just a bit above body temperature.
- Add the yeast and a pinch of the sugar to the warm milk. Let the yeast activate for 5 to 10 minutes, until the mixture is bubbling and frothy.
- Add the remaining dough ingredients into your stand mixer bowl. Pour the activated yeast and milk over everything. Stir a few times with a spatula to make a rough dough. Knead with the hook attachment on setting 6 for 15 to 17 minutes, until the dough is smooth and stretchable. Test the dough by pulling a piece of it using both hands. It should stretch into a very thin and translucent sheet. (This dough can be kneaded by hand, but it is a wet dough, so having a dough scraper for the process will be very helpful. Knead it for 20 to 30 minutes in this case.)
- While kneading the dough, grease the inside of a large bowl with a thin layer of butter or oil.
- Pull the dough into a tight ball using your hands and place it into the greased bowl. Flip the dough ball a couple of times so that it is fully coated in the butter. Cover with plastic wrap. Let it proof until the size has doubled, about 1 hour in the winter, or 30 to 45 minutes in summer. (*Footnote 1)
Make the filling
- While the dough is resting, combine all the filling ingredients in a small pot except for the diced char siu. Mix until the cornstarch is dissolved fully.
- Bring the mixture to a boil and cook until thickened, so you can draw a line on the bottom of the pot with a spatula, about 1 minute. Take the pot off the heat and let the mixture cool off. Once cooled, add the diced char siu and mix until it is evenly distributed.
Shape the buns
- Once the dough has doubled, punch it down using your hand and form it into a tight ball. Cut the ball into 12 even pieces (approximately 62 g per piece). Cover the pieces you aren’t working on with plastic wrap to prevent them from drying out.
- One piece at a time, pull and pinch the edges of the dough to the top until the dough is round. Flip the piece so that the pinched part of the dough is on the work surface. Place your palm and fingers over the ball forming a domed cage, move the dough in small circular motions while applying light pressure to seal it.
- Once all the pieces are formed, you can begin filling them. One at a time, use your palm to flatten the ball, then gently spread the edges until the dough has a 4 to 5” (10 to 13 cm) diameter. You should keep the center a bit thicker than the edges so the buns will be shaped evenly once wrapped.
- Place a tablespoon of filling in the center. Gather the edges over the filling and pinch them together to seal it on top. Flip over the bun and roll it in the same circular motion as before to seal, but be gentle so the filling doesn’t tear through the dough. (If a piece of pork starts to poke out or looks like it’s about to you can pinch the dough over the trouble area and smooth it out with your finger.)
- Place the buns on a parchment-lined baking tray, at least 1” (2.5 cm) apart, and cover them with plastic wrap. Let the buns rise until they grow 1.5 to 2x in size, about 30 to 45 minutes in winter, or 15 to 20 minutes in summer.
Bake
- Preheat the oven to 350°F (176°C). (*Footnote 2)
- Gently brush a thin layer of milk onto the top of each bun. Sprinkle with some sesame seeds to garnish, if using.
- Bake for 12 to 15 minutes, or until the buns are golden brown.
- Let the buns rest until slightly cooled. Serve warm or at room temperature.
Store and reheat
- Once the buns have fully cooled, you can place them in a large ziplock bag. It’s OK to leave the buns at room temperature for a day. Store them in the fridge for up to 3 days or in the freezer for up to 3 months.
- To reheat the refrigerated buns, heat them in a microwave or a 350°F (176°C) oven until warmed throughout. For frozen buns, reheat them in a 350°F (176°C) oven without thawing until warmed throughout, 10 minutes or so.
Notes
- The dough proofing time can vary a lot depending on your room temperature and the freshness of your yeast. When I made the recipe I used a pack of very fresh yeast and our kitchen doesn’t have AC, so the proofing was done in 30 minutes. If your room is cool, it can take up to 1 hour for the dough to double in size.
- If you’re making the buns in the summer, preheat the oven when you start wrapping the first buns. The buns might rise quite quickly if your room is hot. In this case, consider baking half of the batch once they have risen while you work on the rest. It’s OK if some of the buns have not risen fully.
Video
Nutrition
If you give this recipe a try, let us know! Leave a comment, rate it (once you’ve tried it), and take a picture and tag it @omnivorescookbook on Instagram! I’d love to see what you come up with.
More delicious dim sum recipes
- Chinese Scallion Pancakes (葱油饼)
- Pork Zongzi (Cantonese Savory Sticky Rice Dumplings)
- Pineapple Buns (Bolo Bao)
- Steamed Custard Buns (nai wong bao, 奶黄包)
- Chinese Chive Pockets (韭菜盒子, Chinese Chive Dumplings)
- Chinese Turnip Cake (Lo Bak Go, 萝卜糕)
Lilja Walter is a part of the Omnivore’s Cookbook team and worked closely with Maggie to develop and test this recipe.



If we’re making char siu from your recipe, how do we use it in this recipe? Do we still make the sauce?
Hi Phoebe, yes, you will still need to make the sauce. It’s very similar to the char siu sauce but the flavor is milder. The char siu sauce is designed for marinating and glazing. It will be quite salty if you use that one in the buns.
I’ve been making all of your recipes in quarantine and am in love with all of them!! Thank you SO much!! And it’s like you read my mind because I’ve been wanting to make baked bbq pork buns. Will update you on how these turn out 🙂 Thank you Maggie!
Can’t wait to hear your feedback! Happy cooking 🙂
Could I use all-purpose flour instead of bread flour?
I think you can. The texture of the bread will be slightly different but shouldn’t be a problem.
Already craving for it!
First time making these, they came out perfect! Thanks for sharing.
Made these today and they came out great! I couldn’t get them to brown as prettily as your photos but they were surprisingly easy to make.
Can I use foil rather than parchment paper to bake?
Yes you totally can!
I decided to make bao buns for Halloween. I thought it would be fun and different since I have never made anything like that before. I ended up feeling overwhelmed about the steamed version since I do not have a bamboo basket so I looked for a baked recipe. This was so straightforward but also authentic. I did not end up rolling it as much as directed and I think I may have also overstuffed some but they were so yummy. I did not use the filling recipe but I want to one day. I did a ground pork and kimchi combo instead. My buns never really got brown with an egg wash so it was difficult to know when they were ready but when it passed 15 minutes I just took them out. I used organic bread flour and it tasted so clean but like traditional baos. I feel more confident making these and will practice more in the future.
I printed this recipe out for my husband to make because he is the bread maker of the two of us. He told me he had to add about a cup of flour to the dough (probably because of the humidity today here in Florida.) We used pulled pork instead of char siu because we had it. It came out very well.
This was the very first bread I baked that came out right! The instructions were very easy to follow and the recipe for the char siu by itself was delicious. The dough wasn’t tough at all, it pulled away easily while eating. I think I made my filling a little bit too gummy due to messing up some of the measurements and not watching that pan, but I made two batches and was so happy to share them with my loved ones. This is a recipe I will take pride in for following correctly and it tasting absolutely delicious, I can’t wait to make more!
Excellent on my first try. Ate 3 right out the oven. Added some flour after the initial mix for a less sticky dough. Perfect. Thank you, Maggie!
This recipe turned out really well! One thing to note, though, if you’re a dummy like I was: if you have a kitchen aid mixer and use the dough hook, do not go above 2 (out of 10). Otherwise, your mixer may throw itself off the counter. The recipe says ” Knead with the hook attachment on setting 6 for 15 to 17 minutes, until the dough is smooth and stretchable. ” — so I am not sure what type of mixer the author may be using. But this was far too intense for mine. Anyway, great recipe and delicious buns.
I used a pretty heavy (and big) KitchenAid so I can use setting 6. But I do keep an eye on the mixer and hold down to it when it starts to wiggle too much. Anyhow, I’m glad to hear your buns still turn out well using the low setting! Thanks for leaving a positive review 🙂
I made this yesterday and it came out great! The only thing was that my baos weren’t as brown as yours, but it was still delicious. Thank you so much for this recipe. If I wanted to make more baos, can I just double all the ingredients?
Happy to hear you like the dish! My oven runs hot sometimes so the buns turned out a bit darker.
You can totally double the ingredients for a bigger batch. Although I’d be careful about resting the dough so they are not over proofed. For example, after resting, you should cover half of the dough and place it in the fridge while wrapping the other half to slow down the rising.
I’ve must have made this recipe at least 10 times, and these buns are better than the ones I can get at my local dim sum restaurants! I also have a question. Is it also possible to make the dough in a food processor instead of a mixer?
Glad to hear you like the recipe!
For the dough, I’m afraid a food processor won’t work because the dough is very wet. Most of the food processor doughs I’ve done in the past are quite dry, and once it’s mixed, you still need to work the dough for a bit by hands. Plus, this dough uses warm water to activate the yeast. When using a food processor, the blade heats up the dough fast and it might kill the yeast.
This recipe was such a huge hit pre-Thanksgiving Day, by popular demand I’m now making another batch: Christmas Char Siu Bau. Chef Zau, thanks again for all your hard work and happy holidays to you and yours.
Great success with this recipe. First time I was scared to set the mixer to level 6 as the bowl was rattling away. The buns were fine but this time, I decided to set at 6 and wow! the resulting buns were so tender.
Looking forward to making this! Would Instant Yeast be okay?
Yes you a use Instant Yeast. For Instant Yeast, you do not need to activate the yeast in the water and can directly mix it with the flour.
I love this recipe, it’s turned out perfect but next time I’ll reduce a little bit of oysters sauce
Wow what a fun recipe to make, simple and easy. My one challenge is that they needed to bake for an additional 10mins.
My husband is Chinese American and I have been trying for years to make dishes that he will eat and say that they remind him of his grandmother’s cooking. This recipe is it!! Not only does he love it, but all my kids too. My youngest even commented that this recipe was better than the pork buns we get out in CA- which is a huge compliment. Everything I have made so far has been a huge hit with the whole family. Thank you for giving me the recipes to help my whole family enjoy my husband’s heritage and making me fit in with my extended family.
How should I approach this recipe differently if I used active instant yeast? Would I still need to warm the milk?
You should reduce the yeast to 2 teaspoons if using instant yeast, and you don’t need to add the yeast to the milk to activate it (instead, directly add the yeast into the flour). The warm milk helps the dough to rise so I prefer it to the cold milk.