This Chinese egg cake recipe is sponsored by Pete and Gerry’s Organic Eggs. All opinions expressed are my own. Thank you for supporting the companies that keep this blog going.
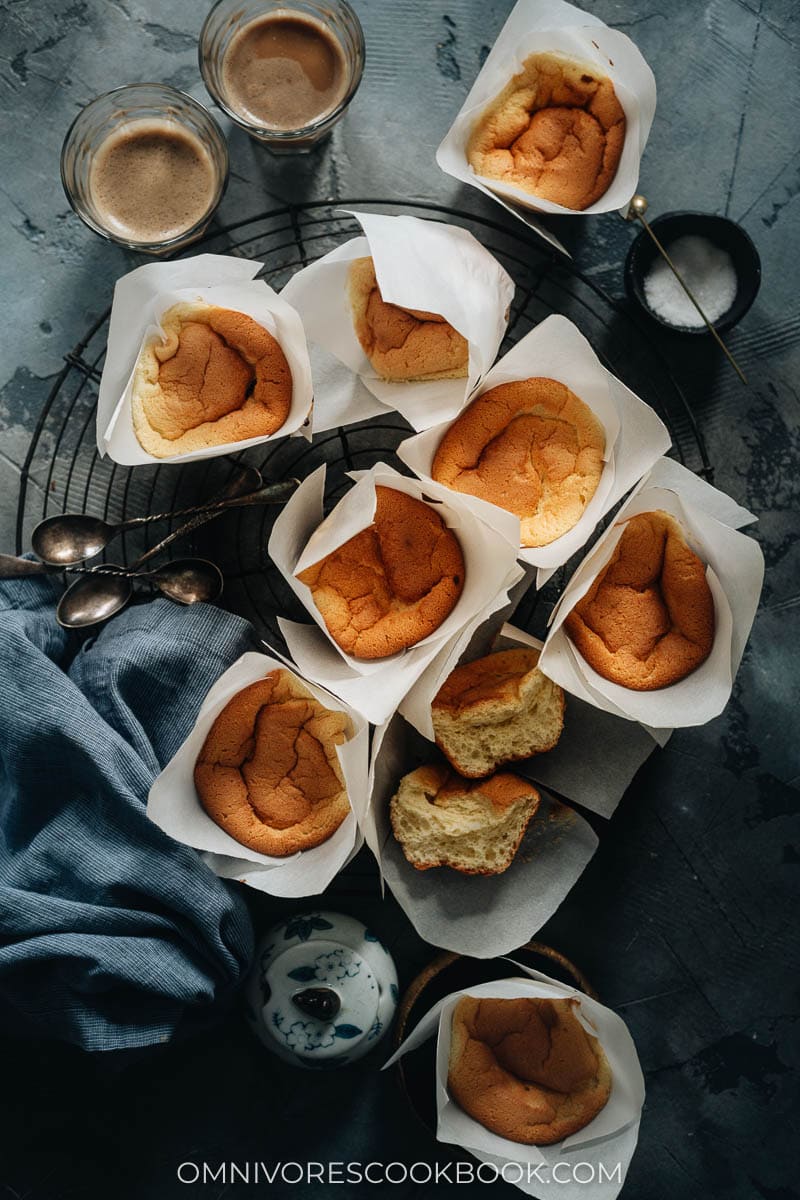
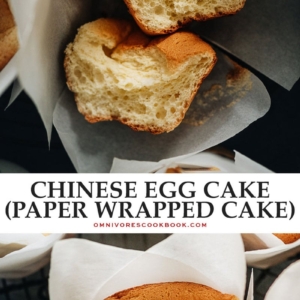
Super fluffy and light in texture, Chinese egg cake is a traditional dessert in a perfectly portable muffin size that makes a delightful way to start your day!
When I was a child, my grandma would take me to the local market where she’d buy me a Chinese egg cake. It’s a very popular dessert and snack that you can get freshly baked. There, they weigh them out in grams and place them in a plastic bag. To look at these Chinese egg cakes, you might think they were plain. But looks can be deceiving, as these are incredible in taste and texture. It was always a highlight of my day when I bit into the cake that was mildly sweet and as fluffy as a cloud.
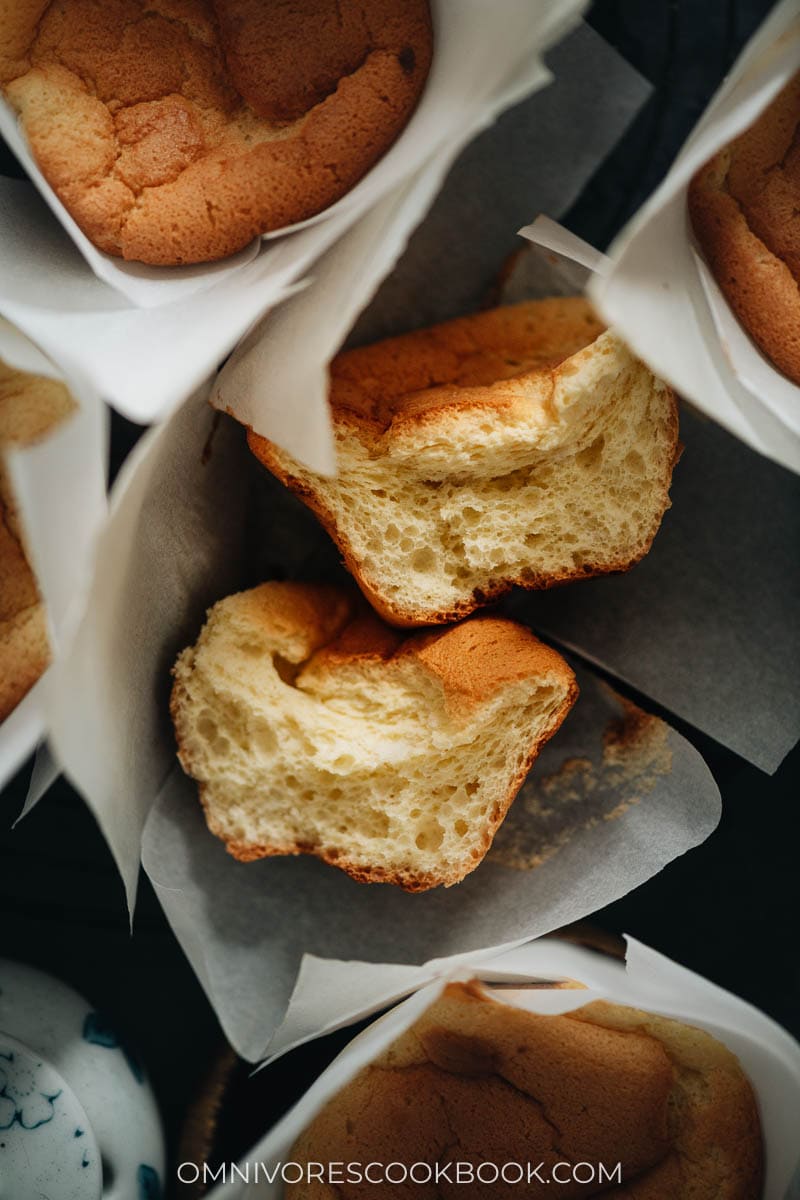
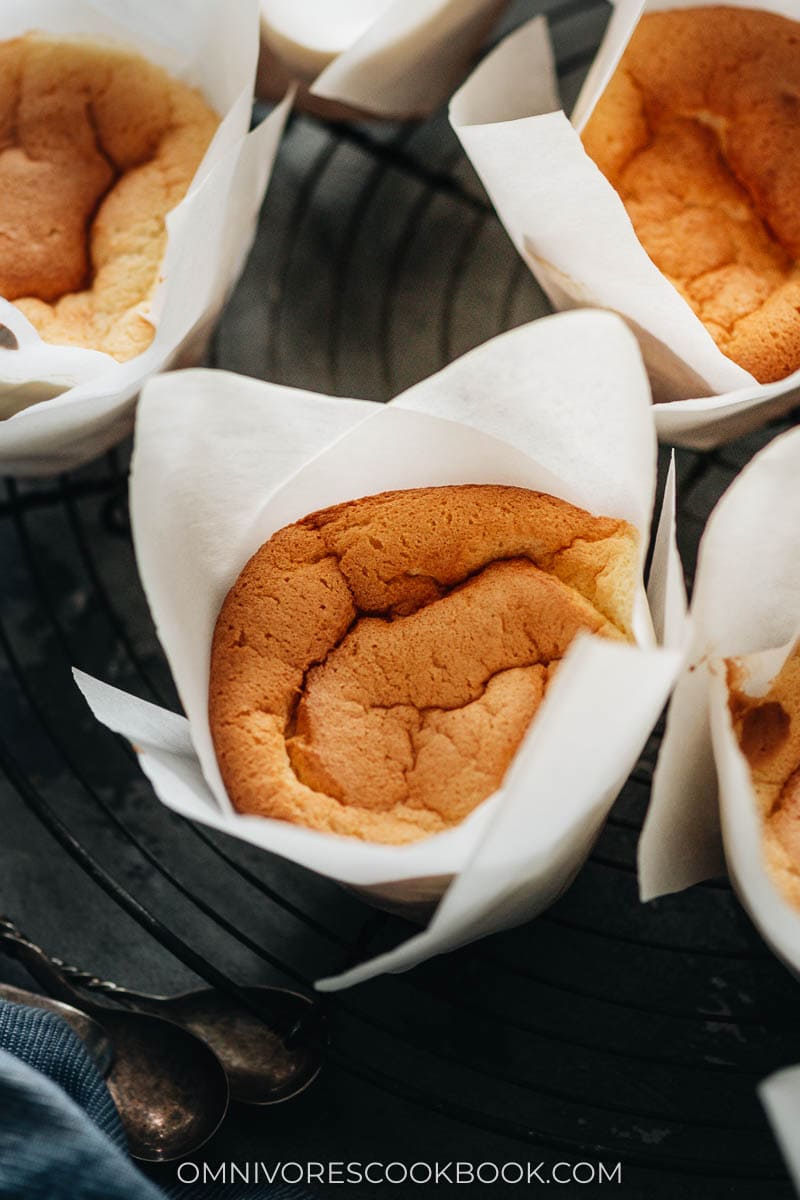
Growing up, we called it “egg cake” but there are some regions that would refer to it as “paper wrapped cake.” There are 2 different versions of it you’ll often find. One uses baking powder while the other doesn’t. This version I have for you today only uses beaten eggs. The eggs give it an incredibly fluffy feeling and a moist texture. And yes, it’s supposed to deflate a bit once it’s baked, which is what gives it that signature appearance.
Ingredients
With 8 easy ingredients, this chiffon-style cake is easy to impress with. You can feel good about giving it to your kids too, since there’s very little sugar involved. It has just the right amount of sweetness though, so everyone will adore this Chinese egg cake.
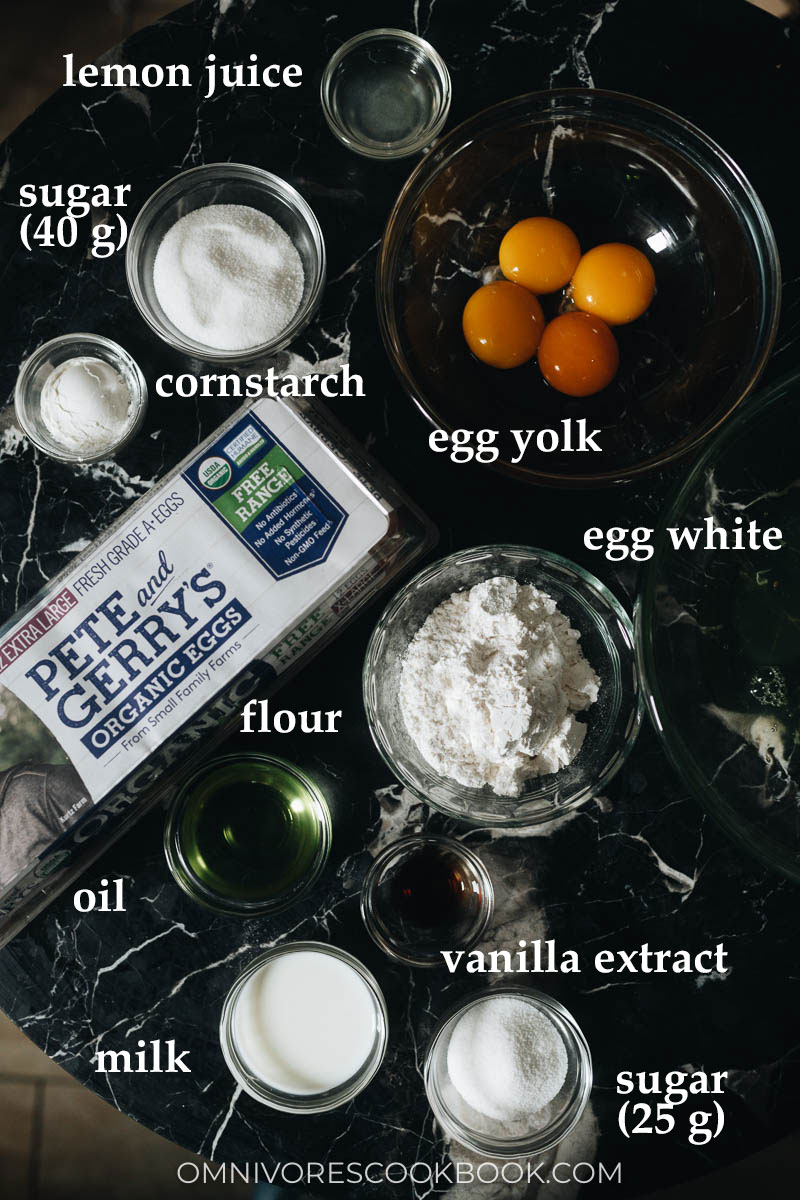
However, I must urge you that since we’re working with such simple ingredients here, it’s even more important to use the highest quality eggs you can find. I used Pete and Gerry’s Organic Eggs in these Chinese egg cakes. They’re a responsible free-range and USDA Certified Organic choice without GMOs, antibiotics, chemicals, or pesticides. Yes, it makes all the difference in the world because when you crack them open, you will see that the yolks are larger and have more of an orange color than other eggs at the grocery store. And guess what…they have a richer flavor that makes everything you use them in even better!
Cooking process
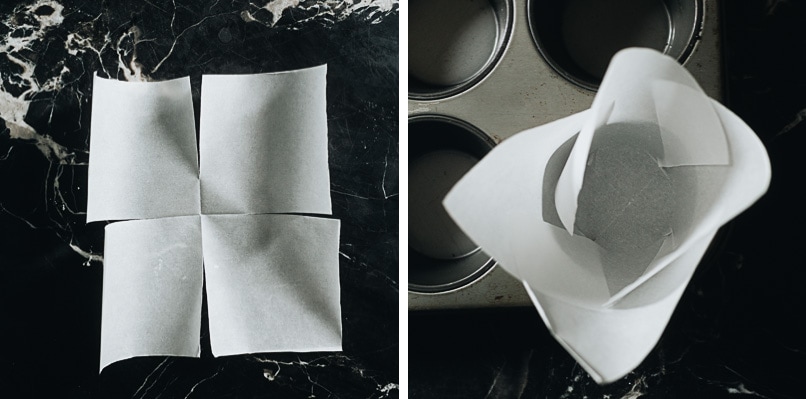
Prepare the parchment paper
It’s important to use parchment paper to make these egg cakes because they rise very tall and they require some support due to their delicate texture.
To prepare the paper:
- Cut the paper into 6×6” (15cmx15cm) squares
- Fold twice to create cross lines in the center
- Cut 2.5” (6.5 cm) slits along the center lines so it can easily be folded into the muffin tin
Make the egg yolk mixture
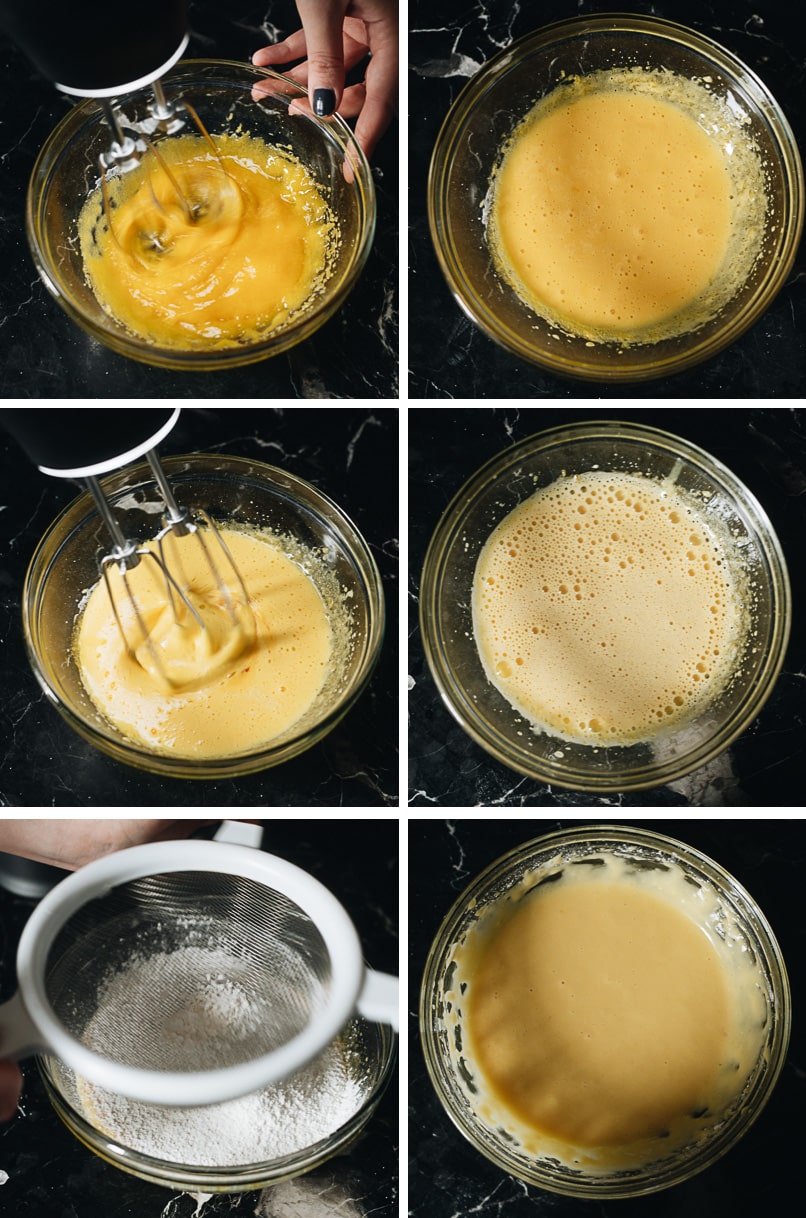
- Whisk the egg yolks with sugar
- The mixture should be silky and light in color once fully mixed
- Add the milk, oil, and vanilla and mix again
- The egg yolk should turn paler and more even in texture
- Sift the flour and cornstarch into the egg yolk mixture
- Mix again until fully combined
Make the egg white mixture
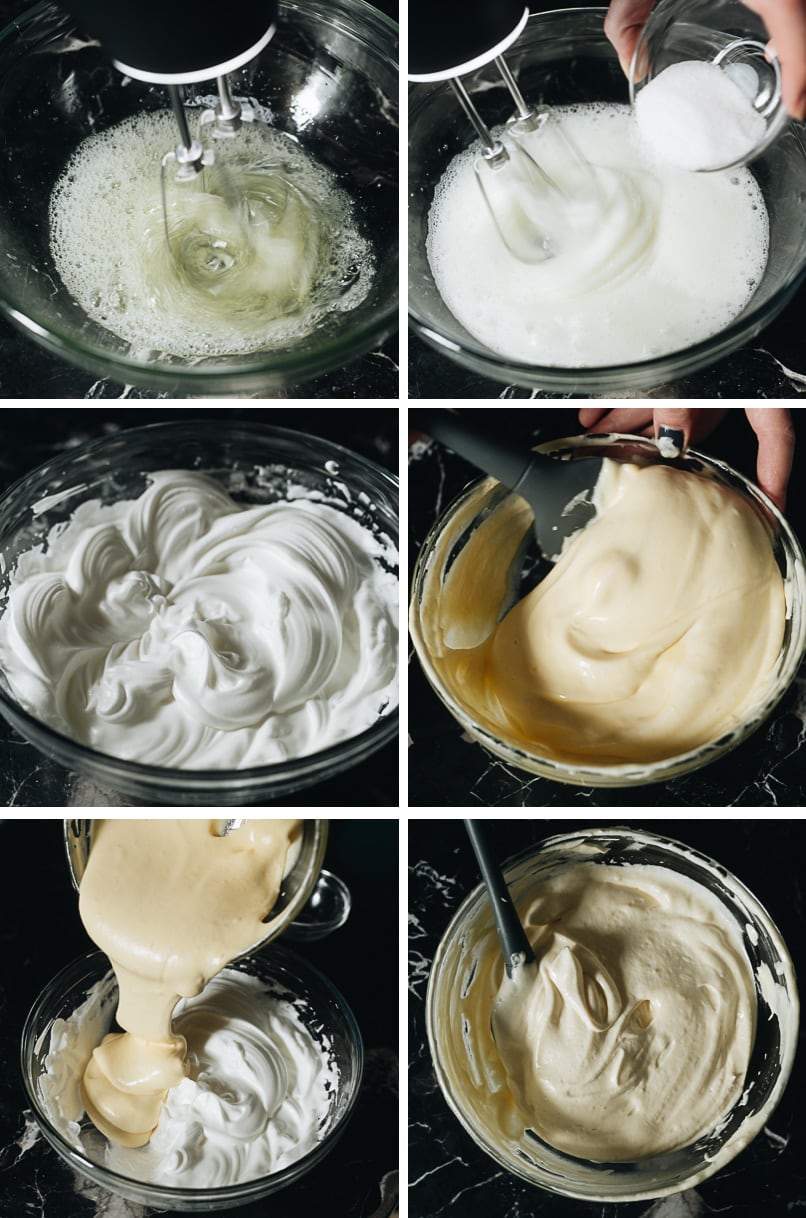
- Beat the egg whites with lemon juice
- Slowly add the sugar and keep whipping
- It’s done once it forms stiff peaks when you pull out the mixer
- Fold 1/3 of the egg white mixture into the egg yolk mixture
- Add the mixture back to the bowl with the egg whites
- Mix again
NOTE: It’s important to keep the egg whites cold to help with the whipping process. You should start with chilled eggs. And I would further place the bowl with the separated egg whites in the fridge until ready to use.
Assemble and bake
- Line a ziplock bag over a measuring cup and pour in the egg cake mixture. Cut a tip off when you’re ready to pipe the mixture.
- Press the prepared parchment paper into the muffin tin and pipe in the egg cake mixture
- Depending on the shape and size of your muffin tin, you might be able to fill 9 to 12 egg cakes.
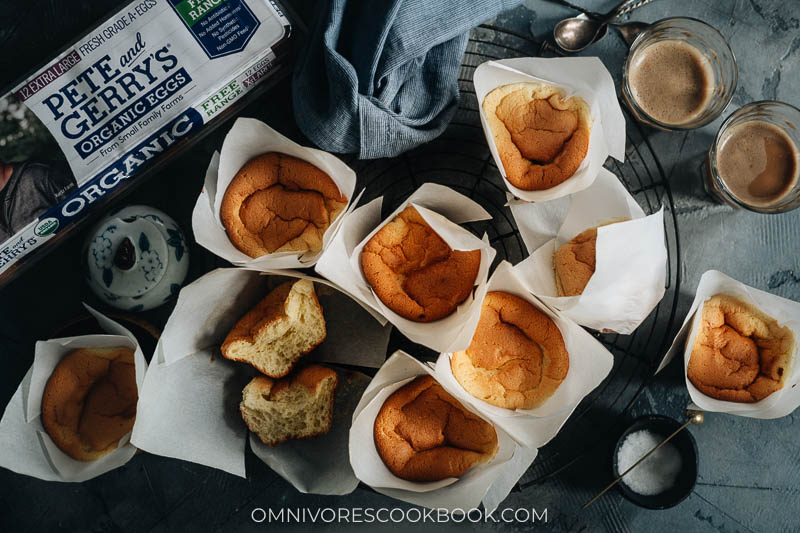
- Bake until the top turns golden brown and the inside is fully cooked, 18 to 20 minutes. Once done, lay the cakes on their sides on a cooling rack.
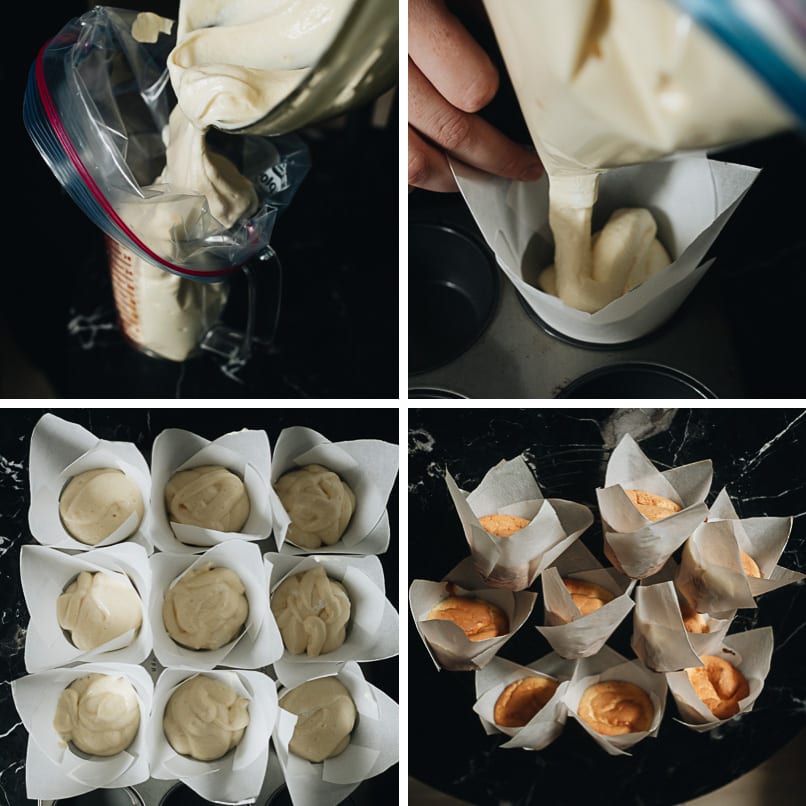
NOTE: because these egg cakes are very fluffy and moist, it’s natural that the tops deflate a bit as they cool. Laying them on their side will help them keep their shape mostly intact.
Storage
These Chinese egg cakes are really best when freshly baked. However, you can store them in your fridge for 2 to 3 days. While you can keep them in a container on your countertop overnight, they tend to dry out more there. I found that storing them in the fridge will maintain their moisture and texture very well the first 1 to 2 days, before they start to dry out.
I recommend baking only what you need, when you need it, so you can enjoy that spectacular Chinese egg cake taste just like you’d get from a street stall in China – so soft and fluffy and satisfying!
Want to learn more about Chinese Cooking? Sign up for my newsletter to receive the 5-Day Chinese Cooking Crash Course and recipe update!
Chinese Egg Cake (鸡蛋糕)
Ingredients
- 4 large or extra large Pete and Gerry’s Organic Eggs cold
- 65 g (1/4 cup + 2 tablespoons) fine granulated sugar , separated to 25 g and 40 g
- 40 g (3 tablespoons) milk
- 30 g (3 tablespoons) vegetable oil (or other type of neutral oil)
- 1/4 teaspoon vanilla
- 65 g (1/2 cup + 1 teaspoon) cake flour
- 9 g (1 tablespoon) cornstarch
- 1 teaspoon lemon juice or 1/4 teaspoon cream of tartar (Optional) (*Footnote 1)
Equipment
- 6 ” (15 cm) Parchment paper (*Footnote 2)
- Electric Mixer
Instructions
Prepare the parchment paper
- Prepare the parchment paper by cutting it into 6×6” (15cmx15cm) squares. Fold the square in half, fold again, and then unfold it, so it shows a cross in the center. Cut four 2.5” (6.5 cm) slits along the fold lines. This will help the parchment paper easily fit into the muffin tin to form a tall cup.
Prepare the egg yolk mixture
- Preheat the oven to 325°F (163°C).
- Prepare one large bowl and one medium sized bowl. Separate the eggs, placing the egg yolks into the medium bowl and the whites into the large bowl. Store the bowl with the egg whites in the fridge while preparing the rest of the ingredients.
- Measure out the sugar and transfer 3 tablespoons of it into a separate small bowl. If you’re using a scale, measure out 25 g and 40 g sugar separately.
- Beat the egg yolks with an electric mixer, and slowly add the 25 g (3 tablespoons) sugar. Mix until silky and lighter in color.
- Add the milk, oil, and vanilla. Mix again until it’s evenly incorporated.
- Set a mesh colander over the bowl. Sift the cake flour and cornstarch into the egg yolk mixture. Beat until just combined. Set aside.
Prepare the egg white mixture
- Transfer the bowl with the egg whites to your working station. Add the lemon juice. Beat with the electric mixer, starting at low speed and gradually turning to high. Slowly add the sugar and whip until it forms stiff peaks when you pull out the mixer.
- Add 1/3 of the whipped egg whites to the yolk mixture. Gently fold them in with a spatula. Once fully combined (it’s OK to have a few lumps), add the folded mixture back to the big bowl with the egg whites. Fold them in using the spatula.
Assemble the cake and bake
- For ease of process, you can add the mixture to a piping bag. To do this, line a 1-gallon ziplock over a tall bowl or large measuring cup. Pour the egg cake mixture into the bag. Carefully cut off the tip of the bag when you’re ready to pour the mixture.
- One at a time, place a parchment square in a muffin tin and press it down to fill the muffin cup. Pour in the batter until it just reaches the top of the muffin tin. Repeat with the remaining papers and batter.
- Bake for 18 to 20 minutes, until the tops are golden brown. To test doneness, insert a toothpick to the center of the cake and it should come out clean.
- Once done baking, carefully remove the cakes from the muffin tin and lay them on the side on a wire rack. This step will help the cakes cool without deflating too much. (*Footnote 3)
- The cakes will weep, but to avoid full sinkage it is recommended that you take them out of the muffin tin and lay them on their side to cool.
- Enjoy the cakes once cooled.
Storage
- To store the leftovers, wait until the cakes cool completely, then transfer them to an airtight container. Store them in the fridge for up to 3 days. The cakes taste best freshly baked, but they will retain a very good texture for the first 1 to 2 days in the fridge, then they will gradually lose moisture.
Notes
- The lemon juice (or cream of tartar) acts as a stabilizer and adds a very mild zing to the egg cakes. It’s OK if you skip it but it’s highly recommended.
- It’s important to use parchment paper instead of muffin cups, because the egg cakes will rise until very tall and regular muffin cups won’t be able to hold the cakes.
- Depending on the size and shape of your muffin tin, the recipe will yield 9 to 12 cakes.



Hi Maggie,
It doesn’t say when, where and how much cornstarch is needed in this recipe!
Hope to hear from you soon.
Best regards,
Claudette
Sorry about that! Somehow it got lost when I did the copy paste.
Just updated the recipe and now it’s correct. The cornstarch amount is 9 g (1 tablespoon).
My mom used to make this, but made it more like a pancake. We lived in Indonesia for many years when I was little and I wonder if it was a take on your recipe, since there was a large Chinese influence in the Indonesian dishes. These look absolutely scrumptious and I will have to make these, soon.
Hello! I was looking at the recipe to make sure I had all the ingredients, but I didn’t see how much cornstarch is needed. What is the measurement for that?
Thank you!
Sorry about that! Just updated the recipe with the cornstarch amount. It’s 9 g (1 tablespoon).
I saw this on the IG feed this week and had to make them. We get bigger and sweeter versions of this sponge cake at Chinese bakeries all the time. This is better–not as sweet (but definitely a dessert/snack) and the texture is so much finer and lighter. My very picky teenager loved them.
I made two changes to the recipe. After measuring out the ingredients, I beat my egg whites first. I have one set of beaters, and I didn’t want to have to worry about scrubbing them after mixing the yolks, etc. because one speck of leftover batter can doom your egg whites. Second, I skipped the piping bag/ziplock and poured the batter from a large measuring cup. I only made a half a batch so it was very doable. In terms of ingredients, I used half-and-half because that’s what i had and cream of tartar. SO GOOD!
I made these cakes today, although with some minor alterations. Instead of using the baking paper, I coated the muffin tin with butter and some ‘paneermeel’ (the Dutch word for a very fine variety of Panko). The cakes came out of the tin pretty easy. I didn’t have any neutral oil at hand, so I used melted unsalted butter instead. Finally, as I didn’t have cake flour, I used all-purpose flour and added half a teaspoon of baking soda and half a teaspoon of baking powder. My cakes tasted very good but appear to be slightly less fluffy and hence, less high than yours. Could that be the result of the different flour? But, anyway, thanks for the recipe, I never made such cakes before and will certainly make them again.
Hi! Tried making this today and thought it was a great recipe – my mom loved it. Was wondering why mine was a little on the denser side – it wasn’t porous like yours. Do you know if I need to beat the egg whites longer? Thanks.
Absolutely deliciously the real thing. Spouse was over the moon! The paper thing was a bit tricky at first, but got the knack of it now.
Fantastic, thank you for this recipe! Such a light and fluffy texture with a neutral but delicious taste. I couldn’t get my egg whites to stiff peaks, but the cakes worked wonderfully. If anyone is curious, I used Silk unsweetened coconut milk and it was fine. Everyone said this was a keeper recipe, thanks so much!
I made these the other day and they were so easy and yummy! The taste was very eggy and not too sweet, and they really reminded me of the freshly baked egg cakes we used to get on the streets of China. My cakes did sink a lot as they cooled, resulting in a denser texture, but they were still very delicious.
Fantastic recipe! Everyone was very impressed and were raving about the texture. I will definitely keep this recipe, thank you!
Hi Maggie,
Thank you for this recipe! I’m so happy to have stumbled across this recipe! The cakes came out fluffy, spongy, eggy, and just absolutely divine. I followed every step to the T except for the vanilla part. I love vanilla flavor so I just added a full teaspoon of vanilla extract. One thing I was disappointed about was the color of the cakes. It came out a very pale yellow even though I baked it for the full 20 minutes. Anyways, I love how clear the instructions and pictures were and the instructions were written for people that don’t own a kitchen scale haha much appreciated! I made these for my mom. She felt like she was at a Chinese bakery. Especially with the cool paper cups. Can’t wait to make these again 🙂 Best regards
Hi Kinny, I’m happy to hear you like the recipe! As for the color, my previous gas oven runs pretty hot and often finicky, so my cakes turned out darker. If you’re making it again, maybe you can bump up the temperature for a bit (like 25 F). I wouldn’t bake it for longer just for the color, because it might risk the cake to dry out.
Hi Maggie, how might I adapt this recipe to make it in a single baking dish / cake / loaf pan, instead of as individual muffins? Hope to hear from you. Thank you!
I haven’t tried it but I’m worried the cake texture is too soft to support itself. If you use a large pan, the outside part might cook too fast and the the middle part undercooked. Also because the structure of these cakes are so loose, they will collapse a bit once baked. When using a larger pan it’s just gonna deflate too much to have a good texture. You can still try it, but I would use a larger baking dish or cake pan so the batter won’t raise too high. The baking time should remain similar but it’s the best to observe the cake and test the doneness using the toothpick method.