This no-fail easy pie crust is made with a food processor and allows you to create an extra flaky crispy pie crust every single time!
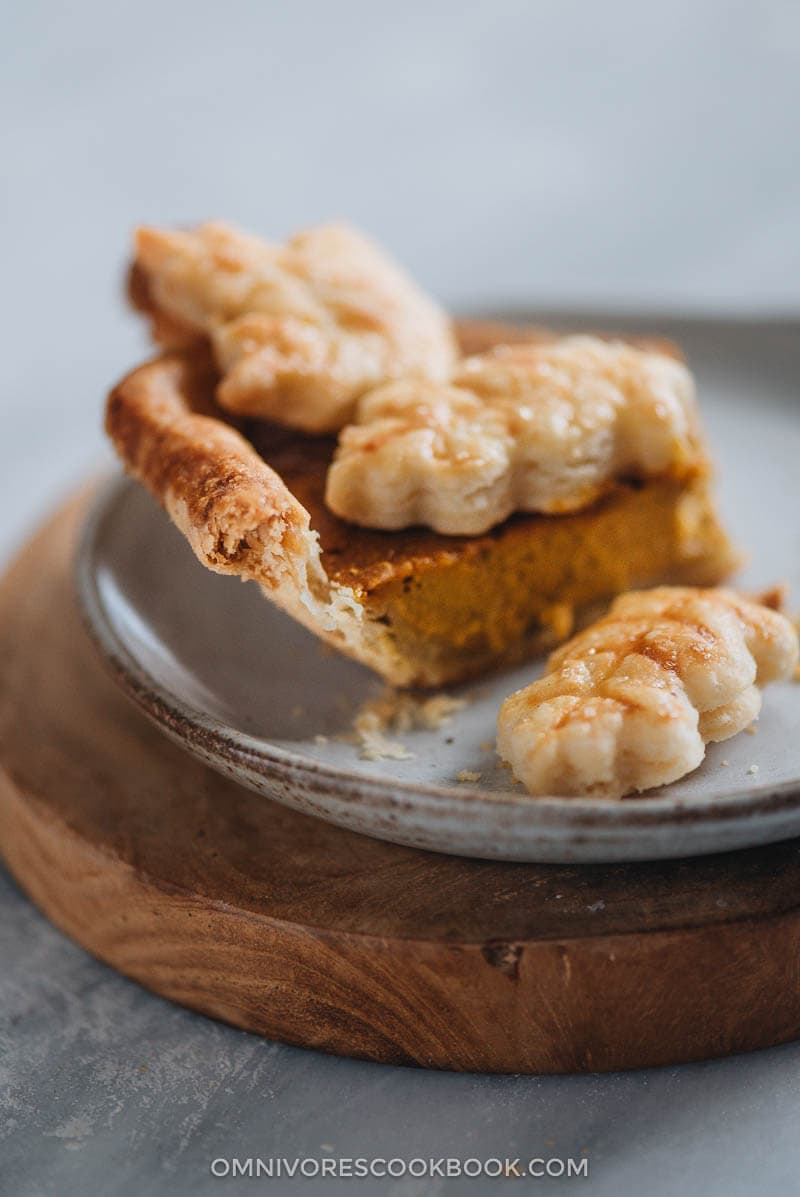
Making a pie crust from scratch is hard!
Like I mentioned in my pumpkin pie post, this year I wanted to challenge myself with pie making and contribute to our Thanksgiving dinner party.
As a serious home cook myself, I believe that a pie made with a pre-made crust doesn’t count as homemade. And I wanted to practice enough until I could bake a perfect pie before presenting it to anyone other than my husband. Yep, I’m just like the stereotypical Asian girl you see on TV shows, the one who’s too serious about everything.
I was so glad that my instincts kicked in and I practiced before our Thanksgiving dinner, because it took me five pies to finally get a good result. And I’m pretty sure that three of the five were not entirely edible.
I’m proud to say that I’m a seasoned cook when it comes to savory food. But not so much when it comes to baking. I can count the number of sweet dishes I’ve made in my whole life using the fingers on both hands.
So why am I posting a pie crust recipe?
Well, I believe that if I can nail a baking recipe and produce good results, the recipe is rock solid and you’ll be in good shape if you choose to use it.
Why this recipe?
I’ve watched countless YouTube videos, read dozens of recipes and notes from cookbooks, and tried out quite a few different formulas myself. Most of them failed miserably, until I found the Easy, All-Butter Pie Crust from Inspired Taste. I tried the recipe, and boom – a perfect flaky pie crust came out of the oven, just as the recipe promised. It was a suprise that making a perfect pie crust didn’t seem so difficult anymore.
I didn’t really need to tweak a thing when I followed their recipe, because it was already perfect. Adam and Joanne even created a video to walk you through the whole process. I highly recommend you watch the video if you’re making the recipe for the first time.
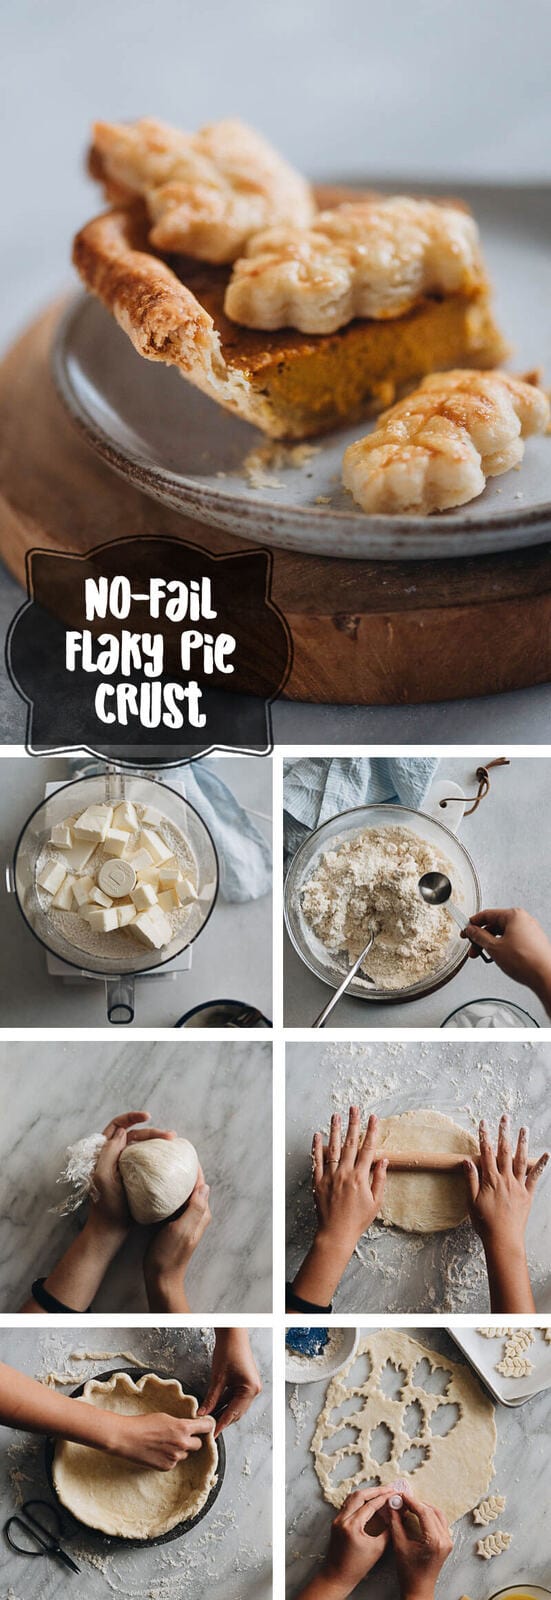
What I did slightly differently was shoot a lot of process pictures during my pie making process, create a brief workflow, and add a few notes to the recipe according to my own cooking experience. If you’re a first timer when it comes to pie crust making, I hope this post will help you walk through the process so can make a beautiful flaky pie crust on the first go.
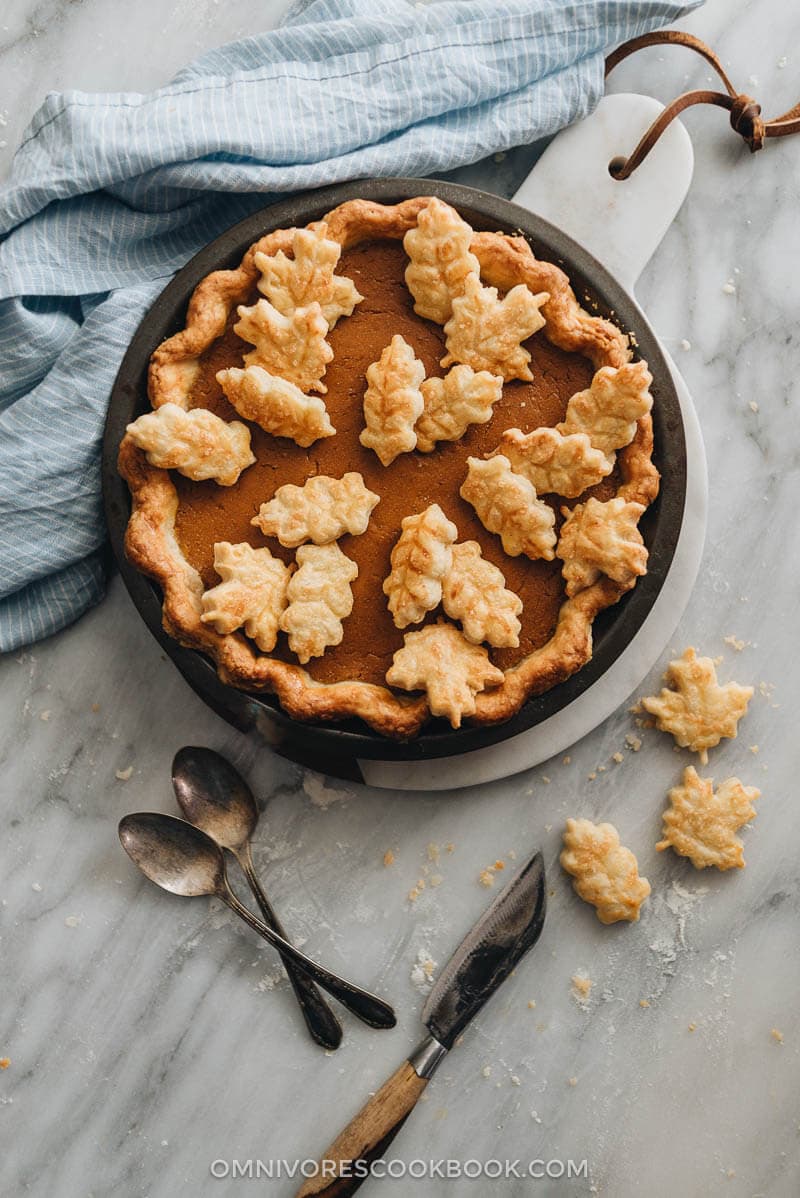
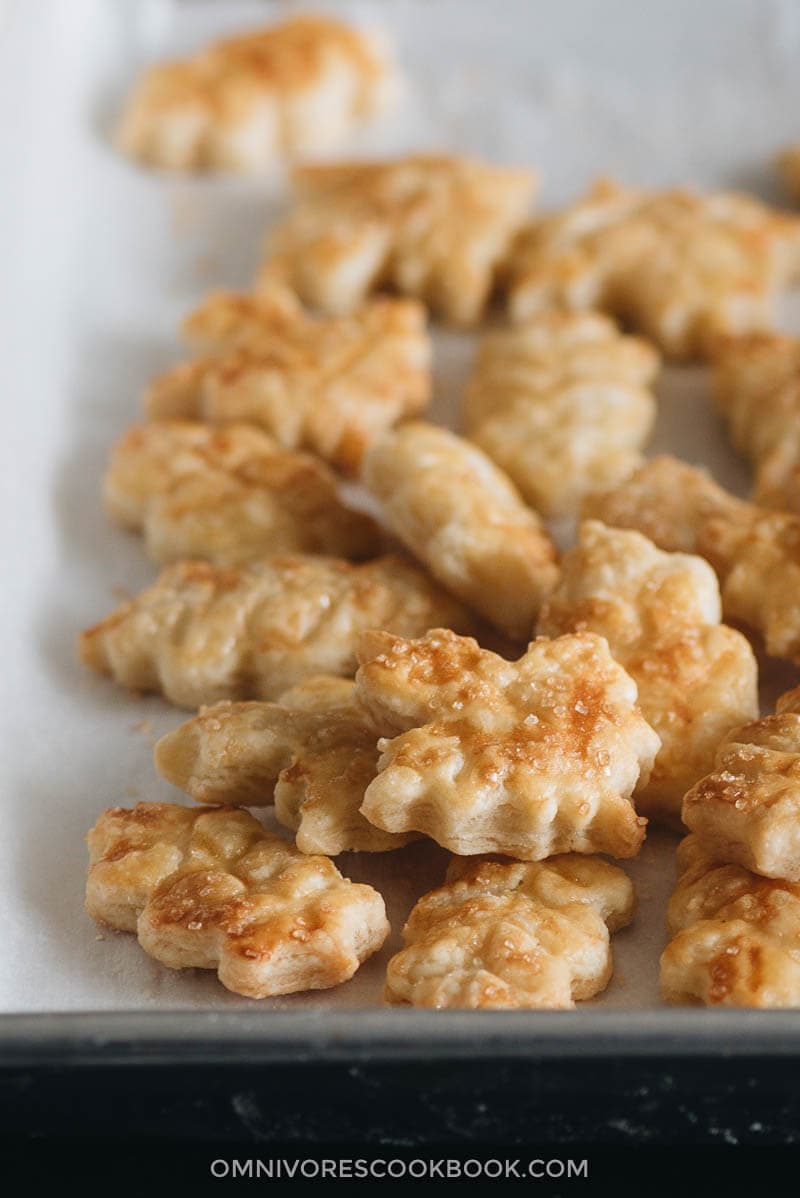
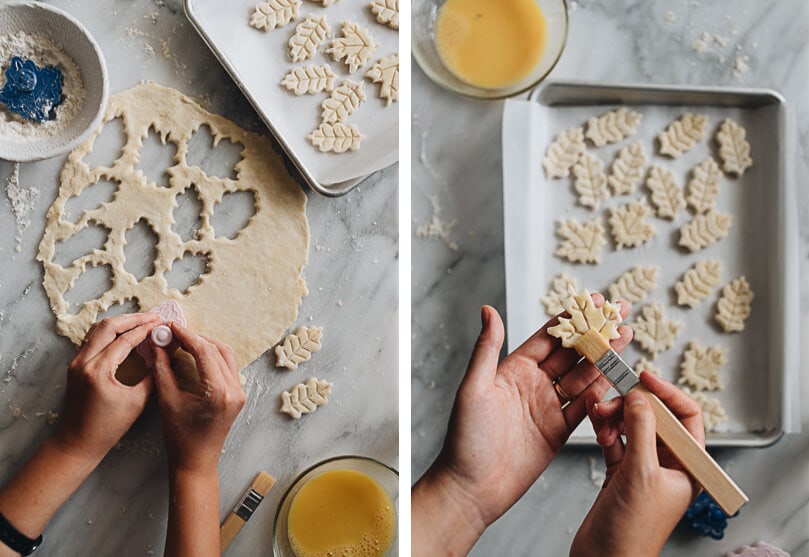
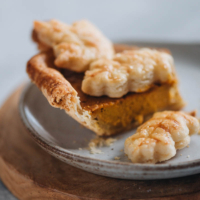
The one thing I added was to use the same pie dough to make pie decorations for Thanksgiving. These pie dough cookie decorations are perfect for any type of pie filling that is too runny to do a double crust. Simply use these pie crust cutters to cut leaf-shaped pieces from the dough sheet, and bake them with your pie crust. They look so adorable, don’t they? And notice how flaky these cookies are!
Workflow
Making a pie crust from scratch requires a lot of time and patience, because you need to constantly chill and rest the dough to achieve good results.
If you’re making the pie the same day you’ll be serving it, I highly recommend you start in the morning to leave plenty of time to rest the dough. Or you can make the pie crust one day ahead to get the bulk of the work done, so you will just need to assemble and bake the pie before serving.
Here is a brief workflow and timetable to help you become familiar with the process. Or you can scroll down to the recipe to see the detailed instructions.
I highly recommend starting at least 6 hours before you plan to serve the pie.
(1) Make the dough by using the food processor, then add ice water, knead slightly, and wrap it up. (15 mins)
(2) Let the dough chill in the fridge. (minimum 1 hour)
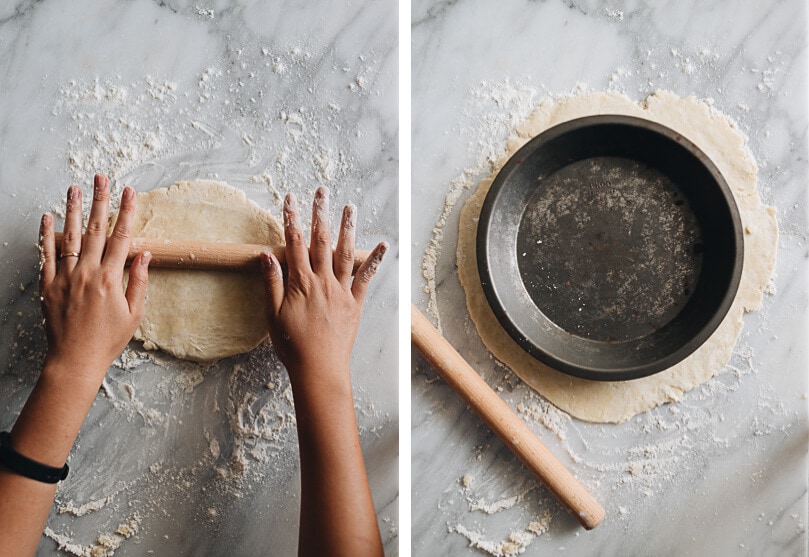
(3) Roll out the dough and arrange it on the pie pan (rest 10 mins plus 10 mins working time)
(4) Make the pie garnish (10 to 15 mins)
(5) Rest the pie dough in the pan in the fridge (minimum 30 mins)
Chill the pie garnish in the freezer at the same time (5 to 10 mins)
Preheat the oven and heat up the pizza stone at the same time (30 to 40 mins)
(6) Fill the pie crust with beans (or pie weights) and blind bake (minimum 30 mins) + Brush the pie with egg wash and bake again. (5 mins)
Bake the pie decorations at the same time (15 to 17 mins)
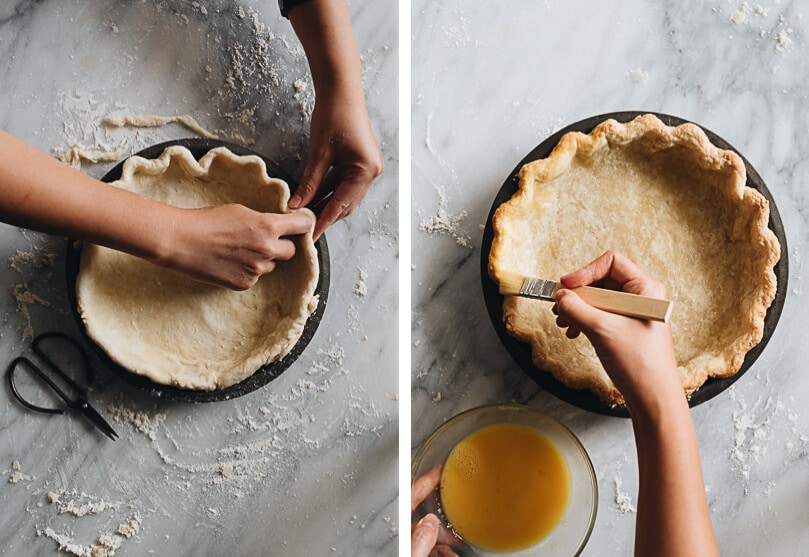
(7) Let the baked pie crust chill completely before adding the filling (min 1 hour)
(8) Assemble the pie and bake it (est. 40 to 1 hour)
(9) Rest the pie until cooled before serving (1 hour or longer)
Cooking notes
Here are some of the cooking notes from all the resources I’ve studied, to help you make a better pie crust.
(1) Keep everything cold
When I’m making a pie, I always return anything that I’m not using at the moment to the fridge (or even the freezer) to chill. This is the most crucial factor to making a flaky pie.
(2) Never over-knead the dough
Over-kneading the dough will develop gluten, which produces a tough and chewy pie. Plus, overworking the dough will cause its temperature to raise too high, and the butter will start melting.
(3) Rest (chill) the pie dough really well before baking
After I arrange the dough in the pie pan, I always rest the dough a bit longer than the recipe calls for, just to make sure the gluten will have enough time to relax after I roll out the dough.
(4) DO pre-bake the crust and chill it completely before filling it
Nobody likes a soggy-bottom crust. I’ve found that pre-baking the crust makes a huge difference, especially for the bottom crust. Chilling the crust before adding the filling will further prevent the pie crust from getting soggy.
(5) If you have a pizza stone, use it
I place the pizza stone on the bottom rack of my oven, so the bottom crust will be browned beautifully and the crust on the edges won’t be over-browned.
Phew, that’s about it, for making pie crust from scratch! I hope you learn something from this post and I hope your pie comes out beautifully <3
Happy cooking!
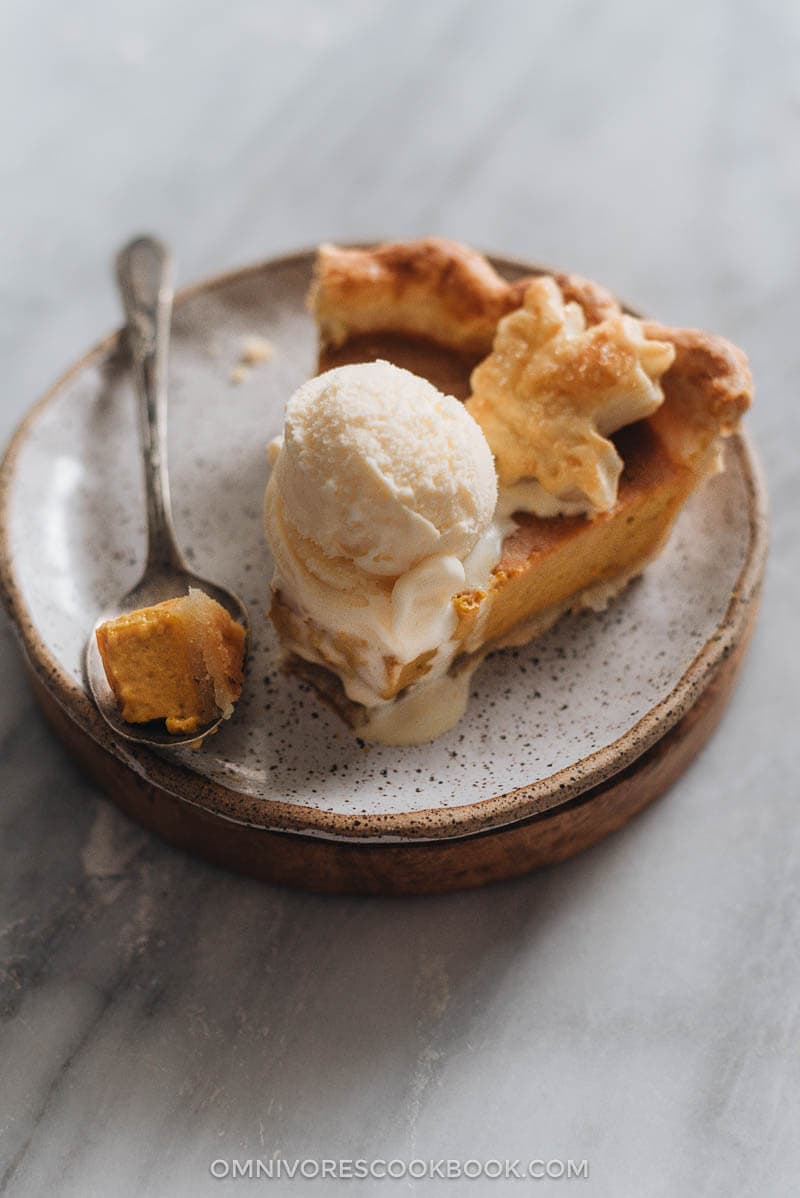
If you give this recipe a try, let us know! Leave a comment, rate it (once you’ve tried it), and take a picture and tag it @omnivorescookbook on Instagram! I’d love to see what you come up with.
Easy Pie Crust (with Food Processor)
Ingredients
- 2 sticks (230 grams) cold unsalted butter
- 2 and 1/2 cup (325 grams) all-purpose flour
- 1 teaspoon salt
- 1 tablespoon sugar
- 1 cup ice cubes
- 1 large egg
- turbinado sugar for pie decorations (Optional)
Instructions
- Make the dough
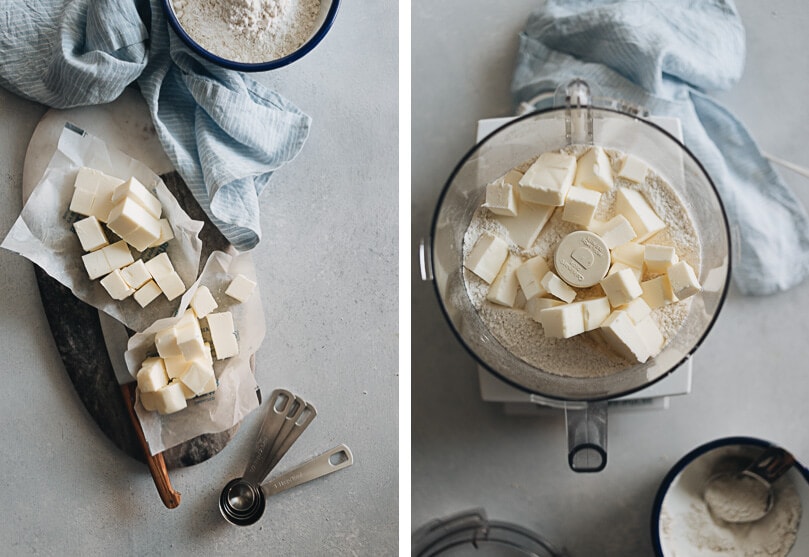
- Cut butter into 1/2-inch (1-cm) cubes, transfer to a bowl and place in the freezer for 5 minutes while preparing the dry ingredients. I always do this step to make sure the butter is very cold.
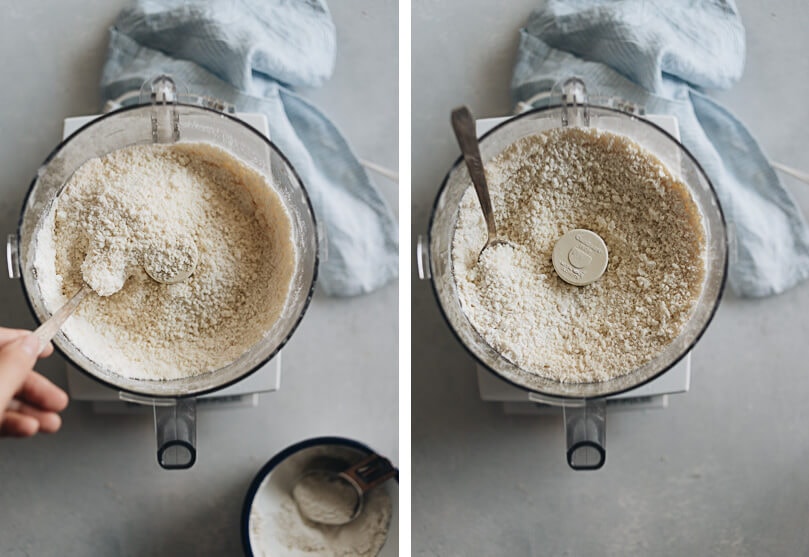
- Combine 1 1/2 cups of the flour, salt, and sugar in a food processor. Pulse 2 to 3 times to mix well.
- Add the butter cubes. Mix until the butter is chopped to small pieces and well coated with flour, about 15 seconds.
- Scrape the bowl and add the remaining 1 cup flour. Pulse 4 to 5 times until the mixture looks crumbly. Transfer everything into a large bowl.
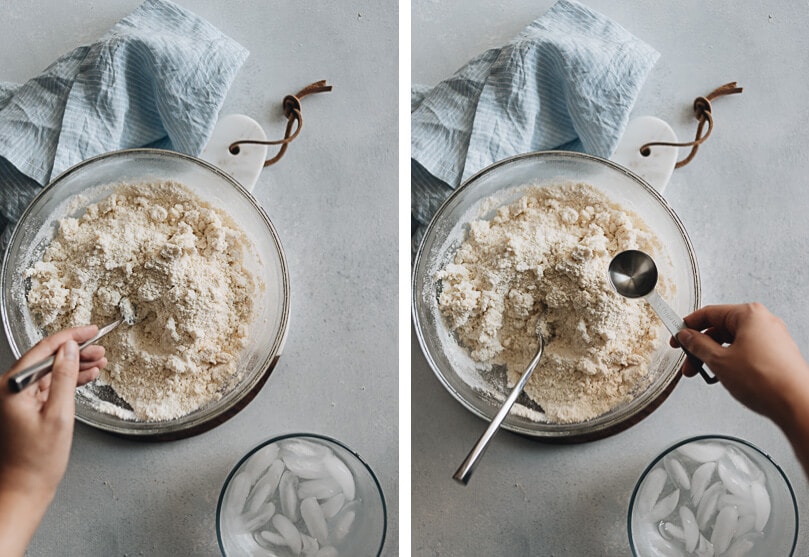
- Add ice cubes into 1 cup of water to make ice water. Swirl 6 to 12 tablespoons of the cold water into the flour mixture, 2 to 3 tablespoons at a time, and stir with a fork until the water is fully absorbed. Use your hand to feel the dough often. The dough should hold together when you pinch the flour. If not, continue adding 1 tablespoon of water at a time, until the dough starts to come together. (*Footnote 1)
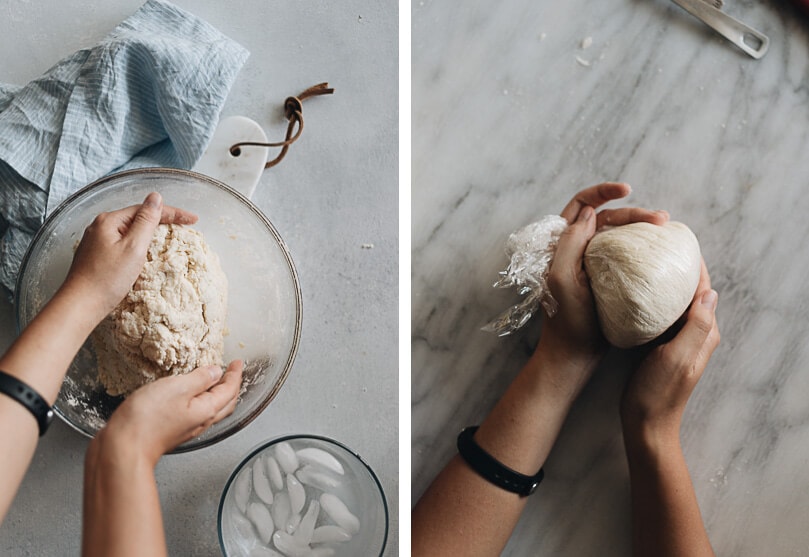
- Start to use your hand to press the flakes and bring the dough together. It is OK if there are some crumbles around.
- Transfer the dough and all the crumbles onto a well-floured working surface. Press the dough until it just forms a ball. Divide the dough into two pieces (*Footnote 2).
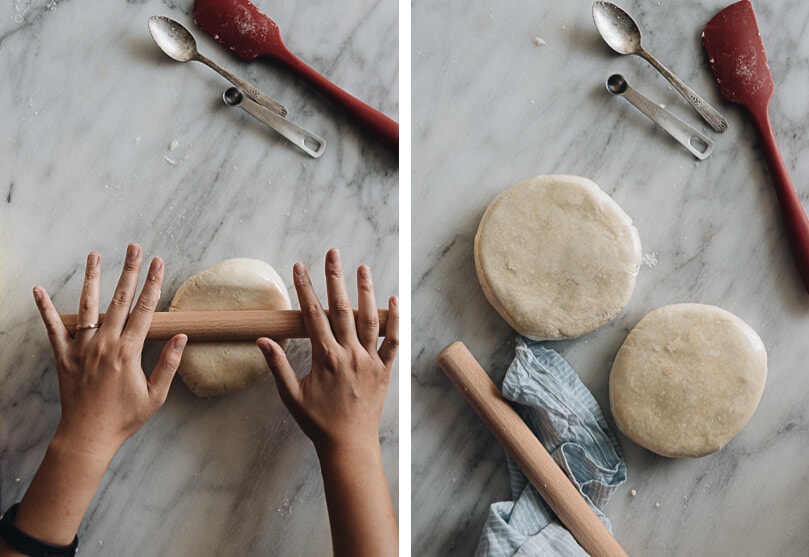
- Wrap and seal the dough with plastic wrap, shape it into a round ball with your hands. Roll the ball into a 1-inch thick disk with a rolling pin.
- Transfer the dough into the fridge and chill for at least 1 hour, up to 2 days. To store the dough for a longer time, place it into a ziplock bag, squeeze out the air, and seal. Freeze for up to 3 months and thaw in the fridge overnight before using.
- Roll the pie dough for pie crust
- Remove one piece of dough from the fridge, unwrap it, and place it on a well-floured working surface for 5 to 10 minutes.
- Sprinkle flour on the top of the dough and onto your rolling pin. Try to roll the dough gently. If the dough starts to crack, let it rest for another one or two minutes, until it becomes more pliable.
- Roll the dough using a rolling pin and swirl the dough frequently to prevent it from sticking. Roll out the dough into a round sheet that is about 1/8-inch (3-mm) thick, and 1-inch larger than the rim of your pie pan. Rotate the dough frequently so it won’t stick to the surface. Dust with more flour if needed.
- Roll the dough over your rolling pin and unroll it over the baking dish (*Footnote 3). Gently arrange the dough to fit the pan. Trim off the excess dough with scissors, leaving about 1/2 inch (1-cm) from the rim of the baking pan.
- Tuck the edge of the dough underneath so it creates a thick border that rests on the rim of the baking dish. Crimp the edges by pressing the edge with your finger while holding the two sides with the knuckles of your other hand.
- Cover the dough with plastic wrap and transfer to the fridge. Let rest for 30 minutes to 1 hour, until it’s completely cooled and turns solid.
- (Optional) make pie decorations (*Footnote 3)
- Line a cookie sheet with parchment paper.
- Beat the egg with 1 tablespoon water in a small bowl to make an egg wash.
- Take out the smaller piece of dough and roll it out according to the pie crust instructions above. I prefer to leave the dough slightly thicker, somewhere between 1/8-inch and 1/4-inch thick (3 to 4-mm), so it’s easier to work with. For the pie decorations, dust extra flour onto the bottom of the dough, so it won’t stick when you cut the dough.
- Dust a cookie cutter or decoration mold with flour to cut the dough. If you use the mold like I did, move the cutter around so the piece is completely cut off. Then gently push the lever 3 to 4 few times to make the leaf impression. Do not push it too hard, which will cause the dough to stick to the mold.
- Hold the mold on top of the parchment paper and eject the dough. The pie decoration should come off quite easily, in the perfect shape.
- Work on the rest of the dough sheet using the same method. Transfer the cookie sheet into the freezer to chill for 5 to 10 minutes, until completely cooled and solid.
- Transfer the dough onto your working surface again. Brush the pattern side of the dough with a thin layer of egg wash. Sprinkle with turbinado sugar (*Footnote 4).
- Bake
- Adjust oven racks so that one is in the middle and one is on the bottom. Place a pizza stone on the bottom rack (Optional). Preheat the oven to 425 degrees F (220 C).
- Beat the egg with 1 tablespoon water in a small bowl to make an egg wash.
- When the pie is well chilled, transfer it to the kitchen counter. Crumple a piece of parchment paper and flatten it, cover the bottom of the pie and arrange it so it fits the shape. Add pie weights, beans, or rice onto the parchment paper. Transfer the pie onto the pizza stone. Turn the oven to 400 F (200 C). Bake for 30 minutes, or until the edges turn golden.
- Place the cookie sheet with pie garnish on the middle rack and bake until the surface turns golden, 15 to 17 minutes.
- Once the pie crust is ready, transfer it to the kitchen counter and remove the pie weights. Brush the entire pie crust surface with a thin layer of egg wash. Return it to the bottom of the oven and bake for another 5 to 7 minutes, until the egg wash has dried completely and the bottom of the pie crust turns solid. If you plan to make the pie in advance, you can pre-bake the pie crust one day in advance.
- Let the pie crust cool completely. Turn the oven to 350 F (176 C).
- Now you can fill the pie with any filling you like, such as this light and fluffy kabocha pumpkin filling. If you are making a double-crust pie, cover the pie with the other piece of dough.
- Now continue baking the pie until the filling is cooked, and the top crust turns golden (if using).
- If you made pie decorations, garnish the cooked pie with them right before you’re ready to serve so they won’t turn soggy.
Notes
- The amount of ice water needed will vary a lot depending on various factors such as the flour you use and the humidity of your room. Many recipes say you only need 6 tablespoons water, but I always end up using 10 to 12 tablespoons, even when I measure the flour accurately. And I’ve seen some people only use 4 tablespoons. So the best option is to feel the dough mixture with your hand. It should have some crumbles and be mostly soft, but not too wet.
- I always make one slightly large dough and one smaller. I use the larger dough for the bottom of the pie and the smaller one for the pie decoration.
- If you’re making a double-crust pie, you can use this piece of dough to make the top crust.
- This sprinkled sugar is optional but I highly recommend you try it.I actually make extra pie decoration leaves and sprinkle a bit more sugar on them and bake them into cookies. They are so pretty and delicious to snack on.





Hi Maggie. I love your recipes. Super easy to follow and yet you come up with amazing dishes. I’m trying to bake (seems like baking doesn’t like me much hehe). Do you think that using a manual (hand crank) food processor / food chopper will work for making the pie crust? Thank you very much!
Pretty sure you can use a manual food processor for the recipe!